Before moving to Arizona, Matt and I vowed to make a trip to see the Grand Canyon, Antelope Canyon and Horseshoe Bend. Since I knew I would be heading back to Missouri just a few weeks after moving to Arizona, I decided to do all the needed research in advance. Man, am I glad I decided to do that – we would have missed out on so many opportunities if I hadn’t gathered information ahead of time! SO – those of you that are dying to see these epic Northern-Arizona locations but only have a limited amount of time, this post is for you. I’m going to share alllll my tips, links and information that you need to plan a 24 hour trip of a lifetime! (or if you’re not a morning person like us, a 36 hour trip!)
First up: The Grand Canyon.
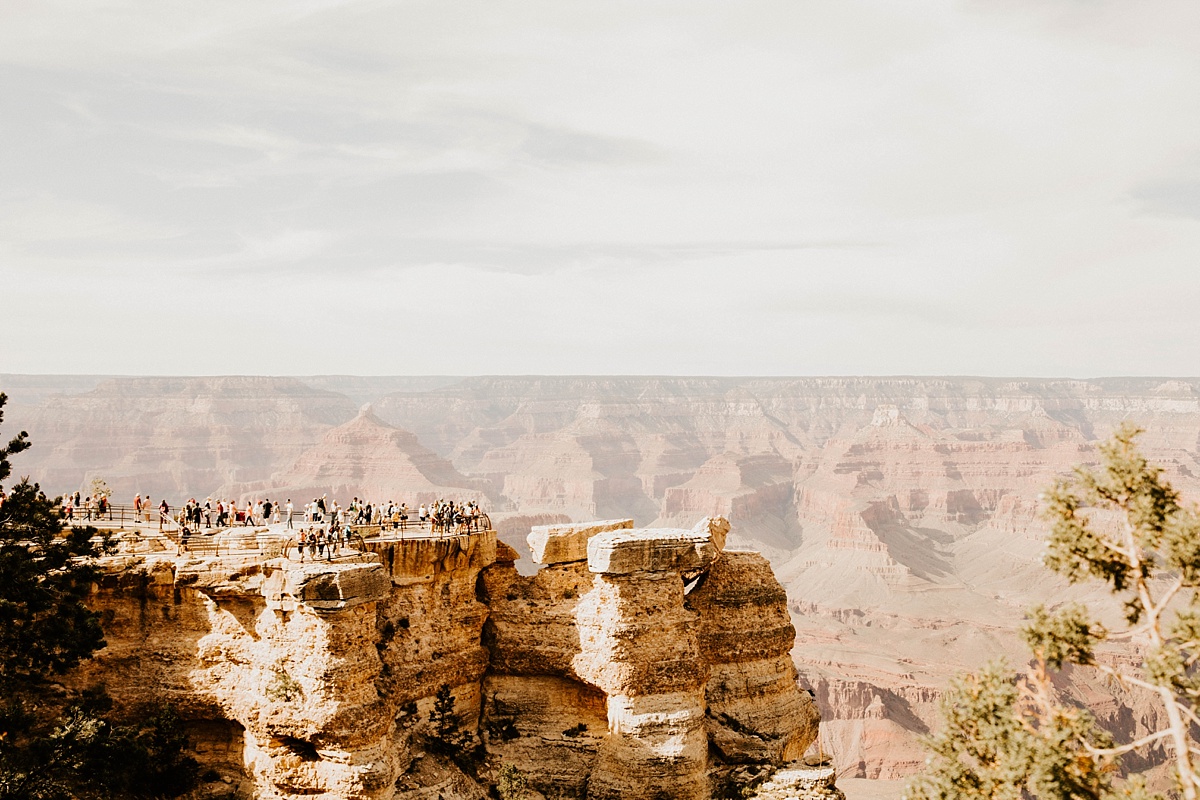
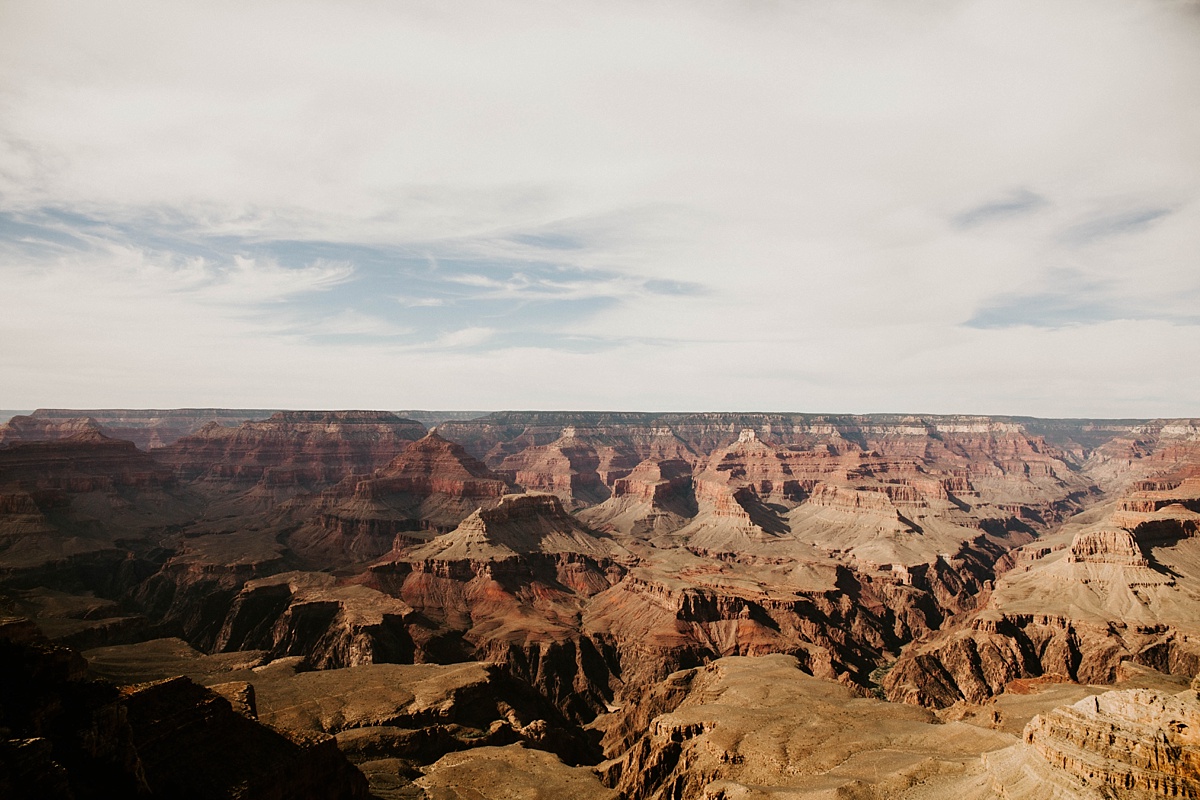
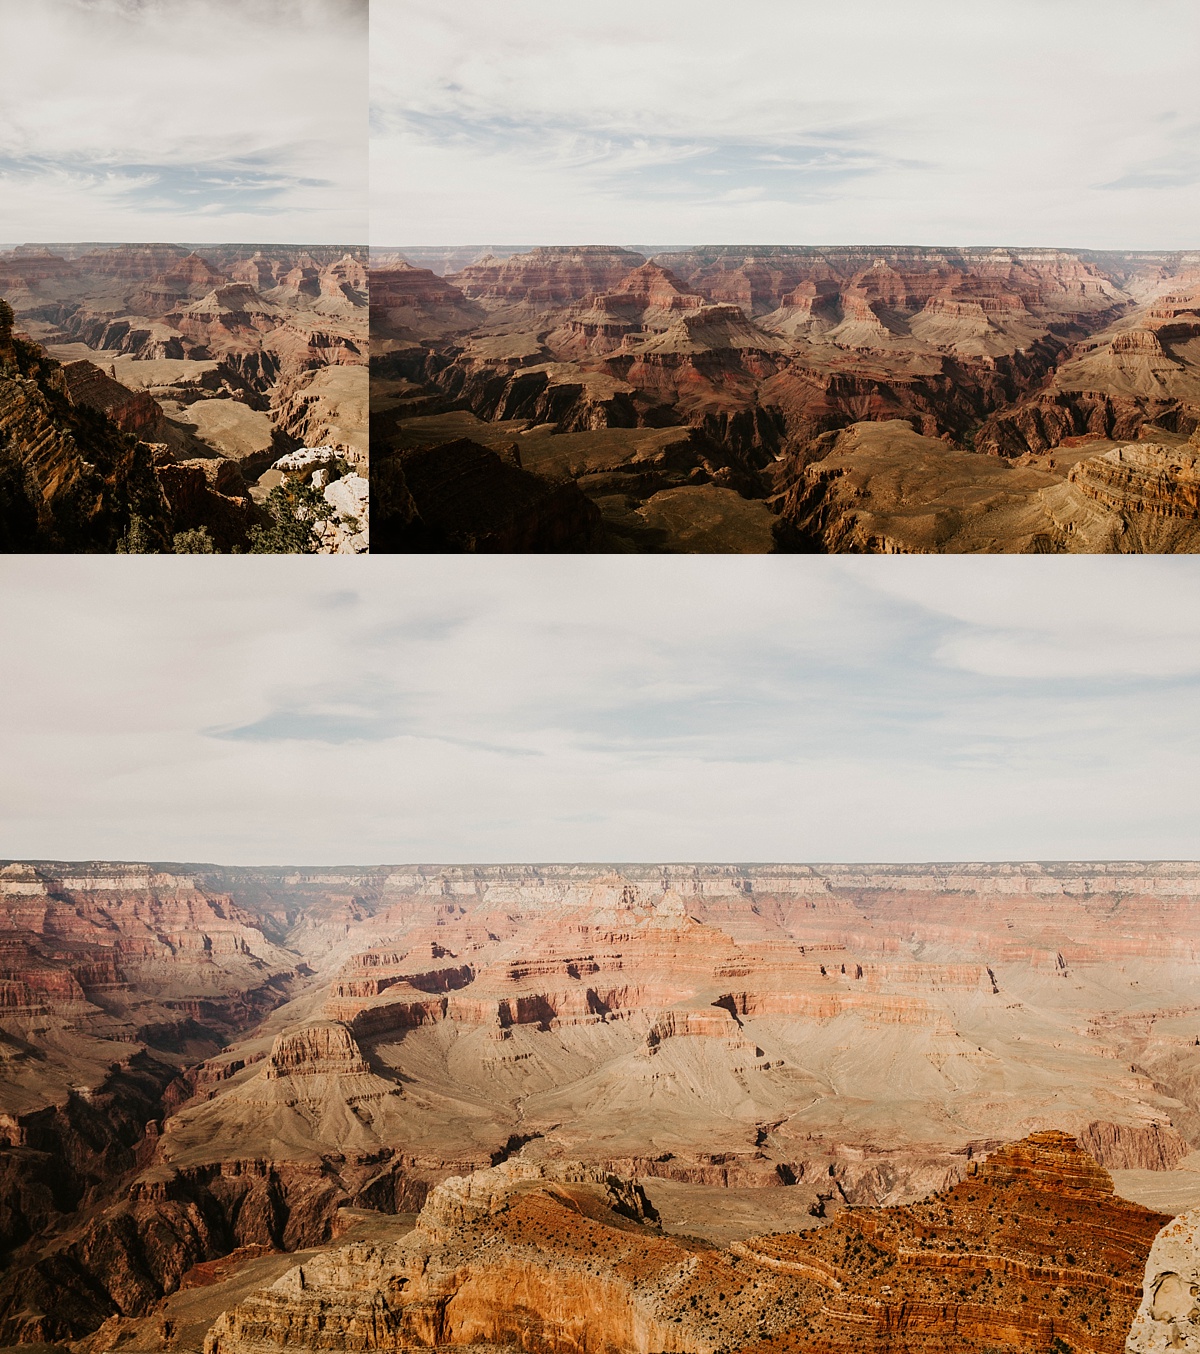
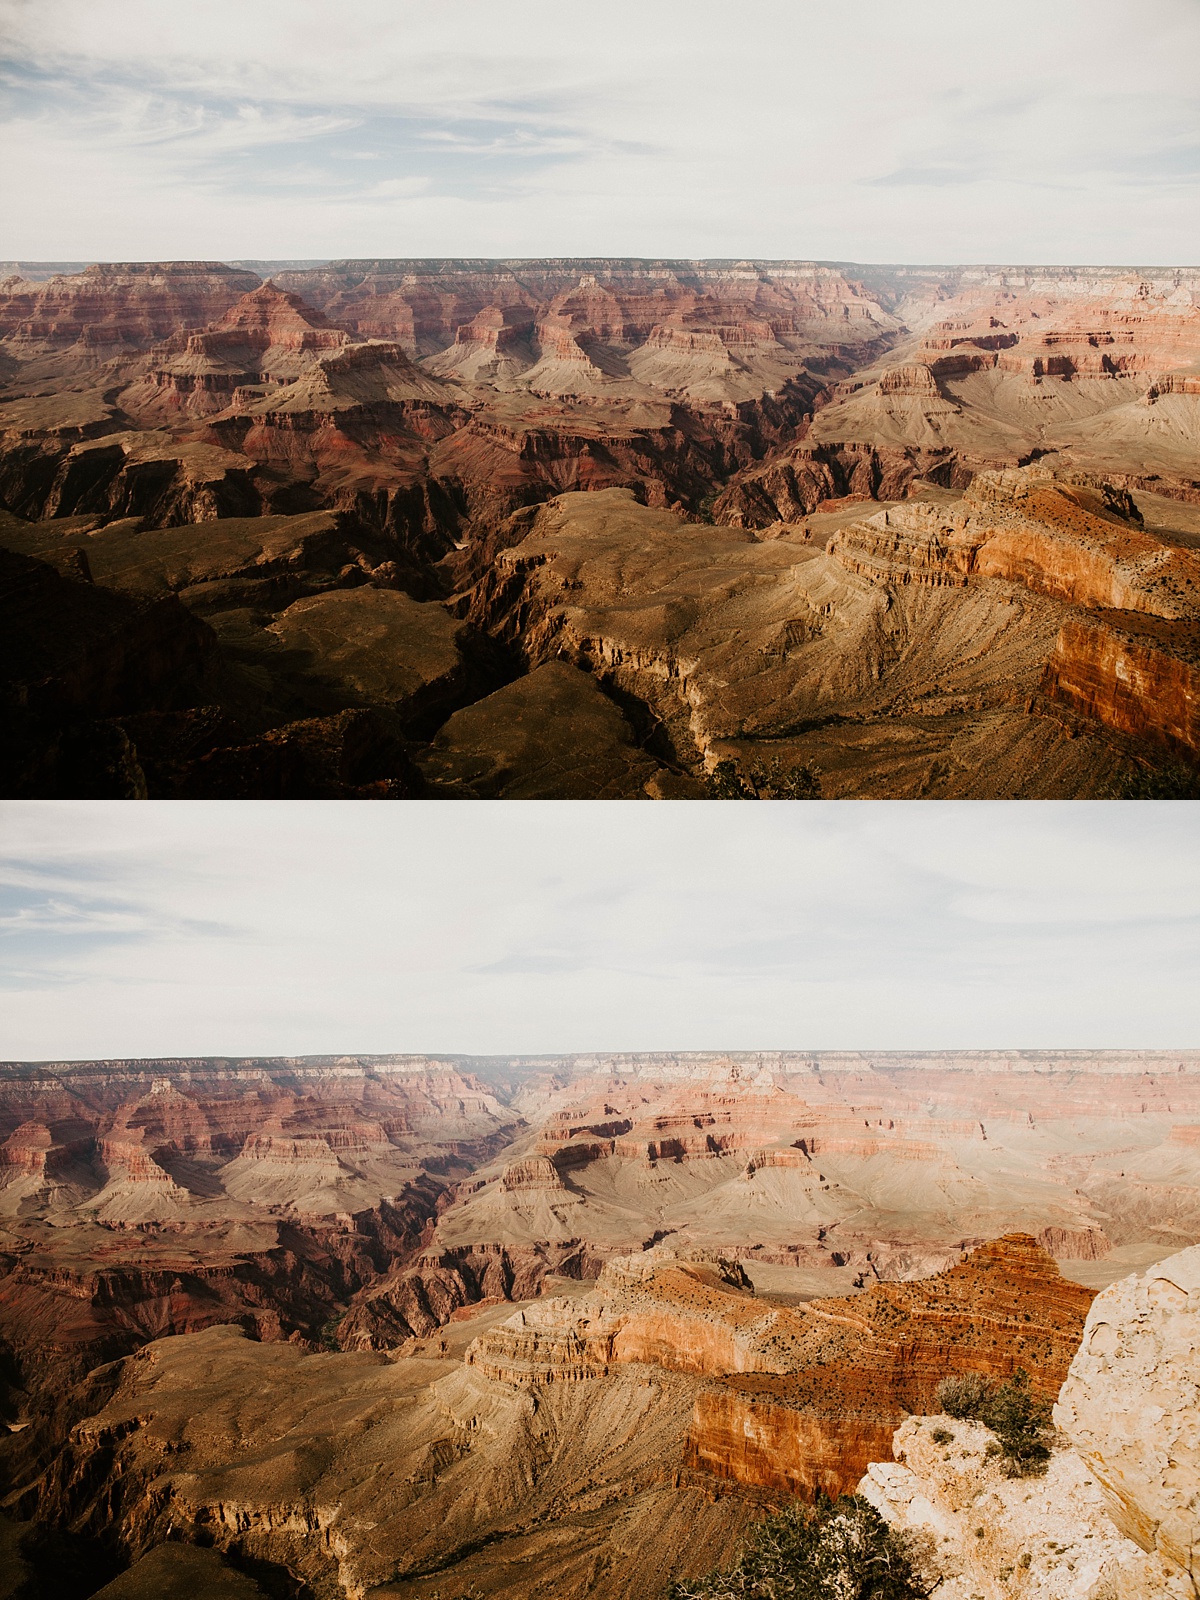
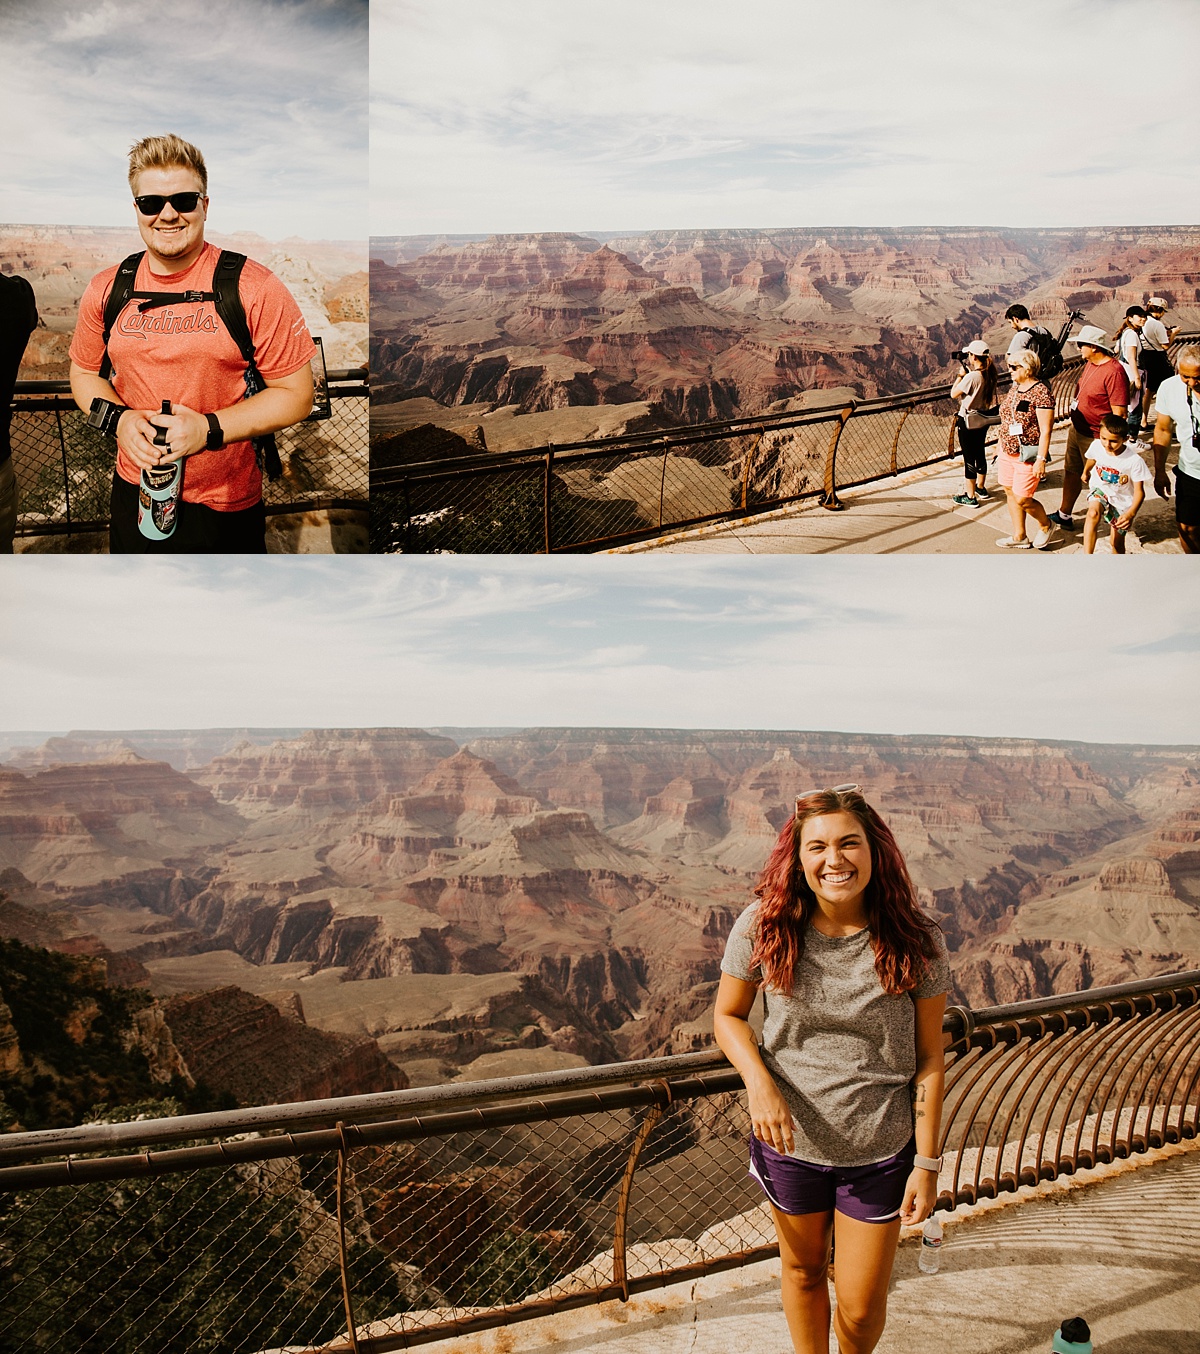
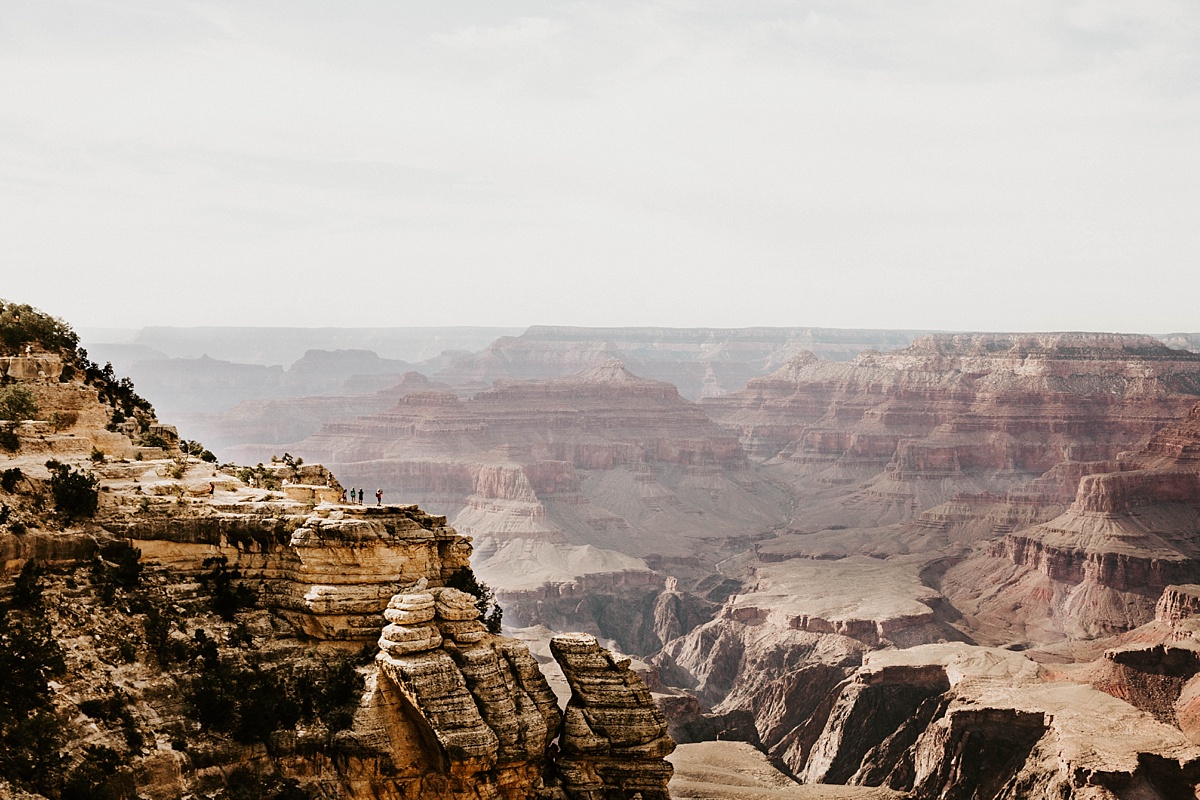
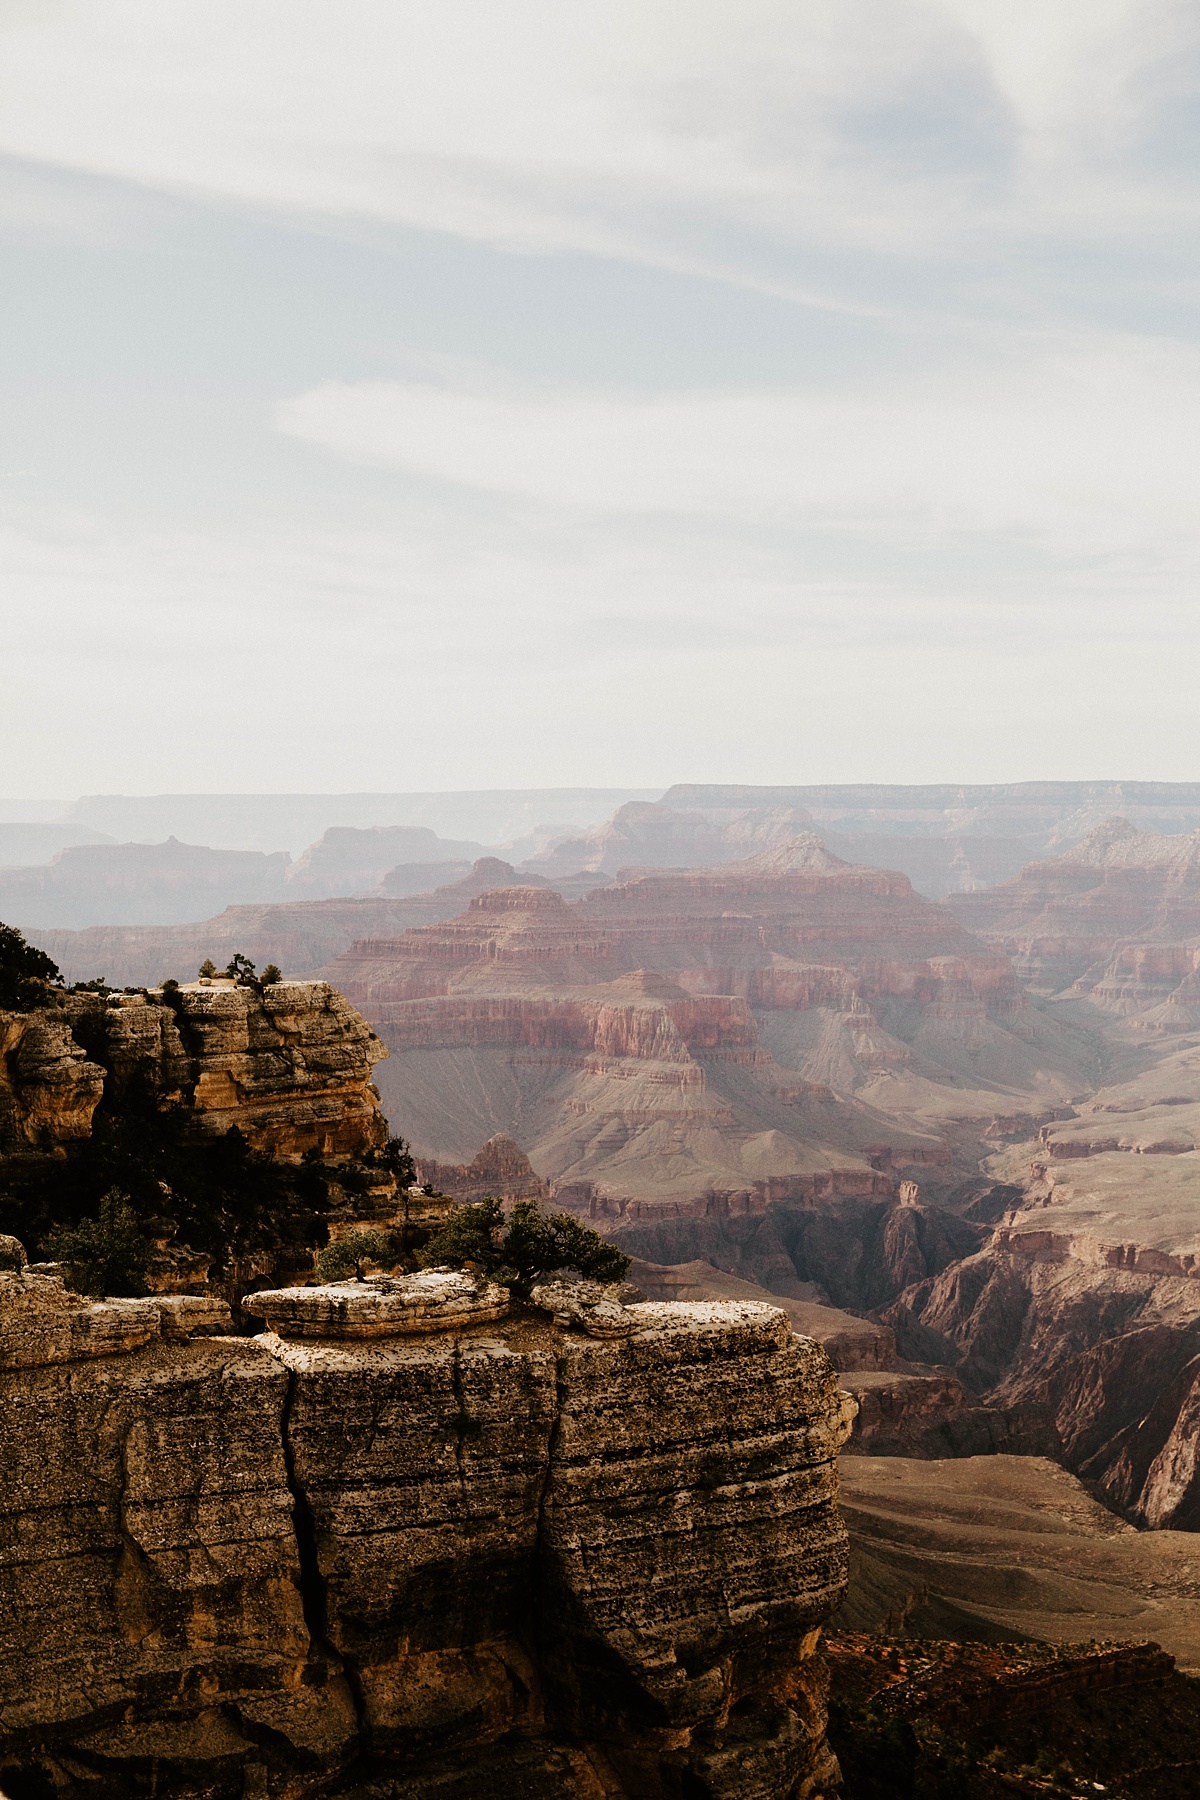
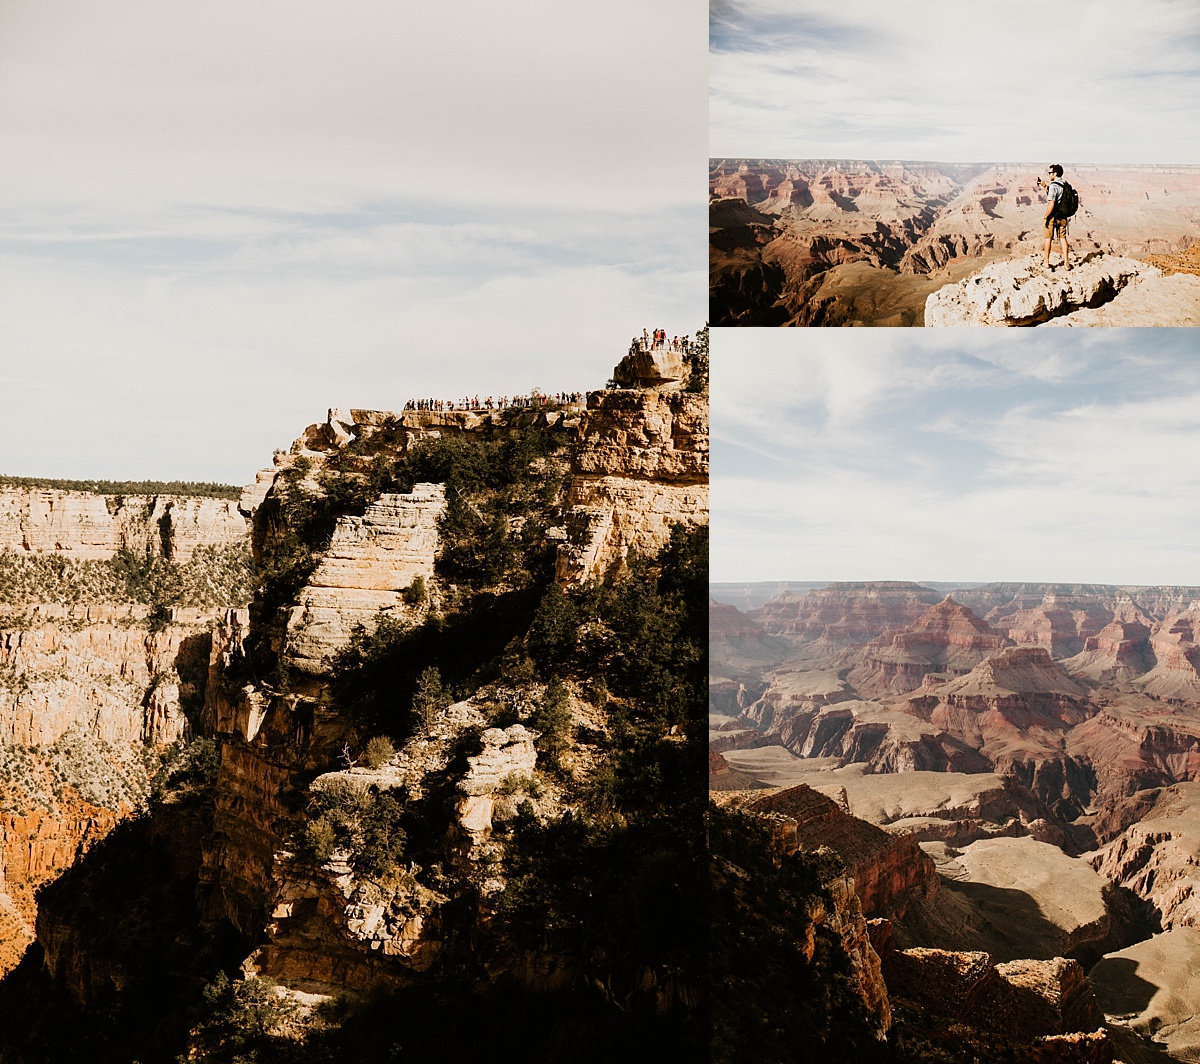
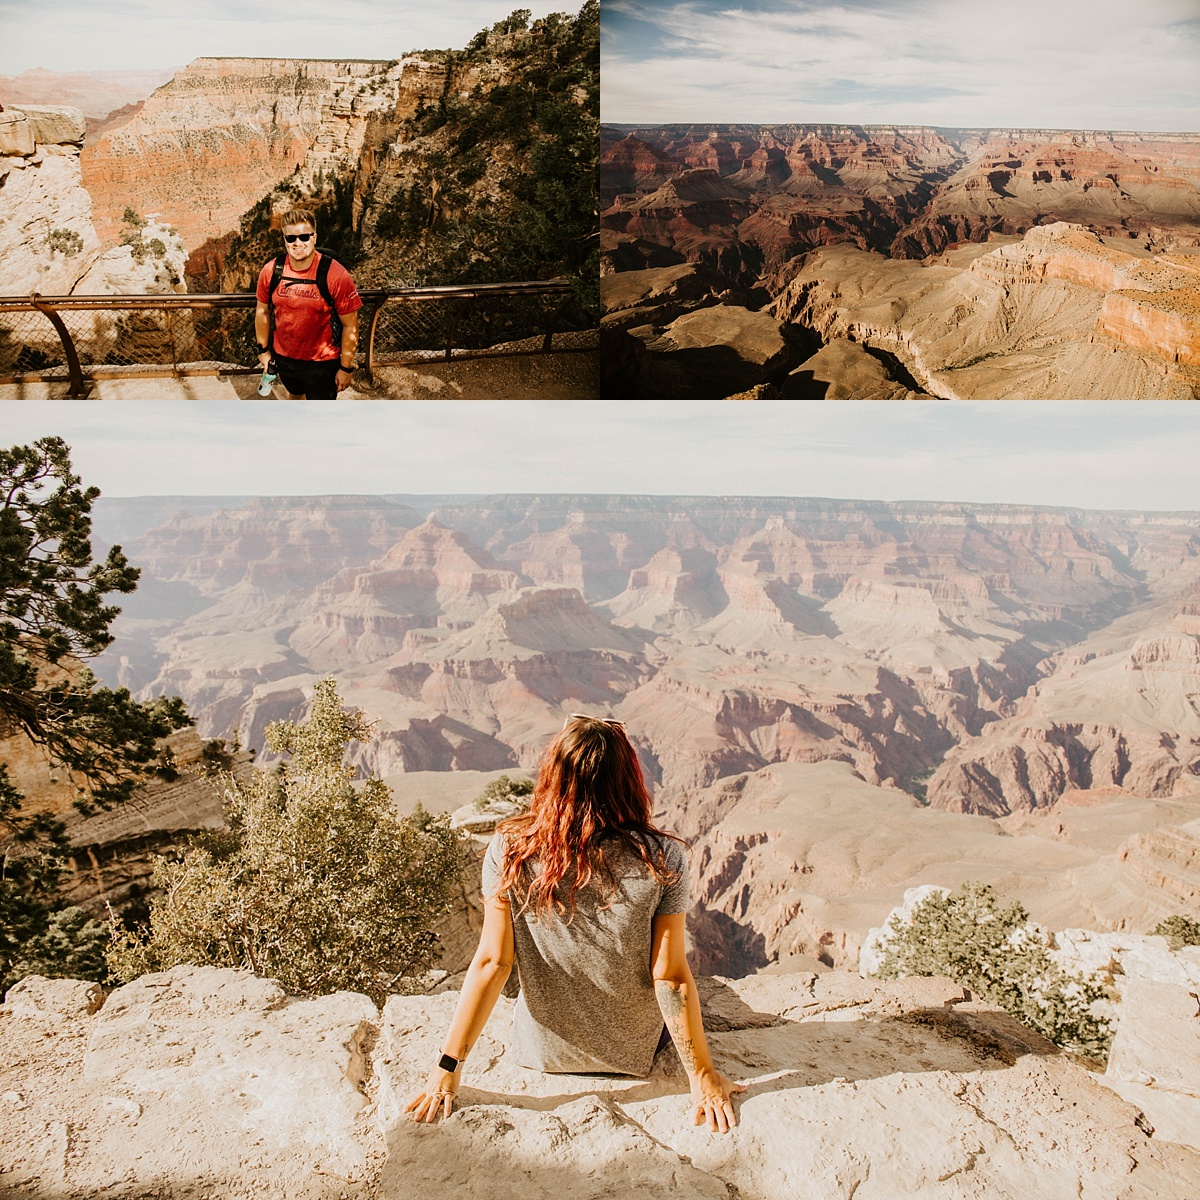
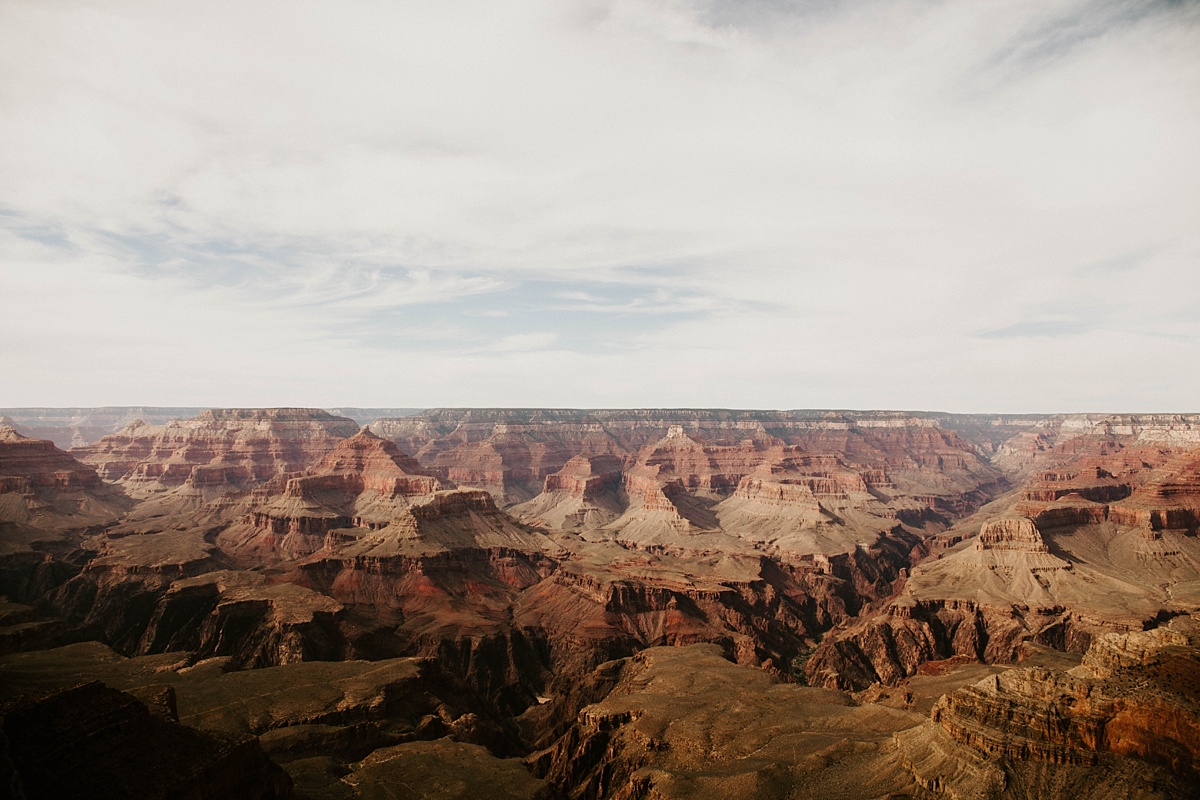
There’s two main viewing points of the Grand Canyon: Bright Angel Point at the North Rim and Mather Point at the South Rim. Since we were driving up from Phoenix, we chose to map our trip to Mather Point. The trip from Phoenix to Mather Point in Williams, Arizona was 3.5 hours – not all too bad considering we had just driven from Missouri to Arizona a few weeks prior! About 20 minutes before reaching our final destination, we entered Grand Canyon National Park after paying a $30 per car entrance fee. We followed the signs to Mather Point, which led us to a massive, multi-tiered parking lot. We arrived at about 3:00pm and let me just say – it was PACKED, even though we chose to go on our trip after school was in session. Once we parked, we followed the signs to the Rim Trail, a paved path the leads you along the rim (go figure) of the Grand Canyon. There was a large ‘viewing deck’ on one of the jut-outs of the canyon that was paved and had railings (see first picture below!). It was incredible to hear all of the different languages that were being spoken at once – totally overwhelming in such a rad way.
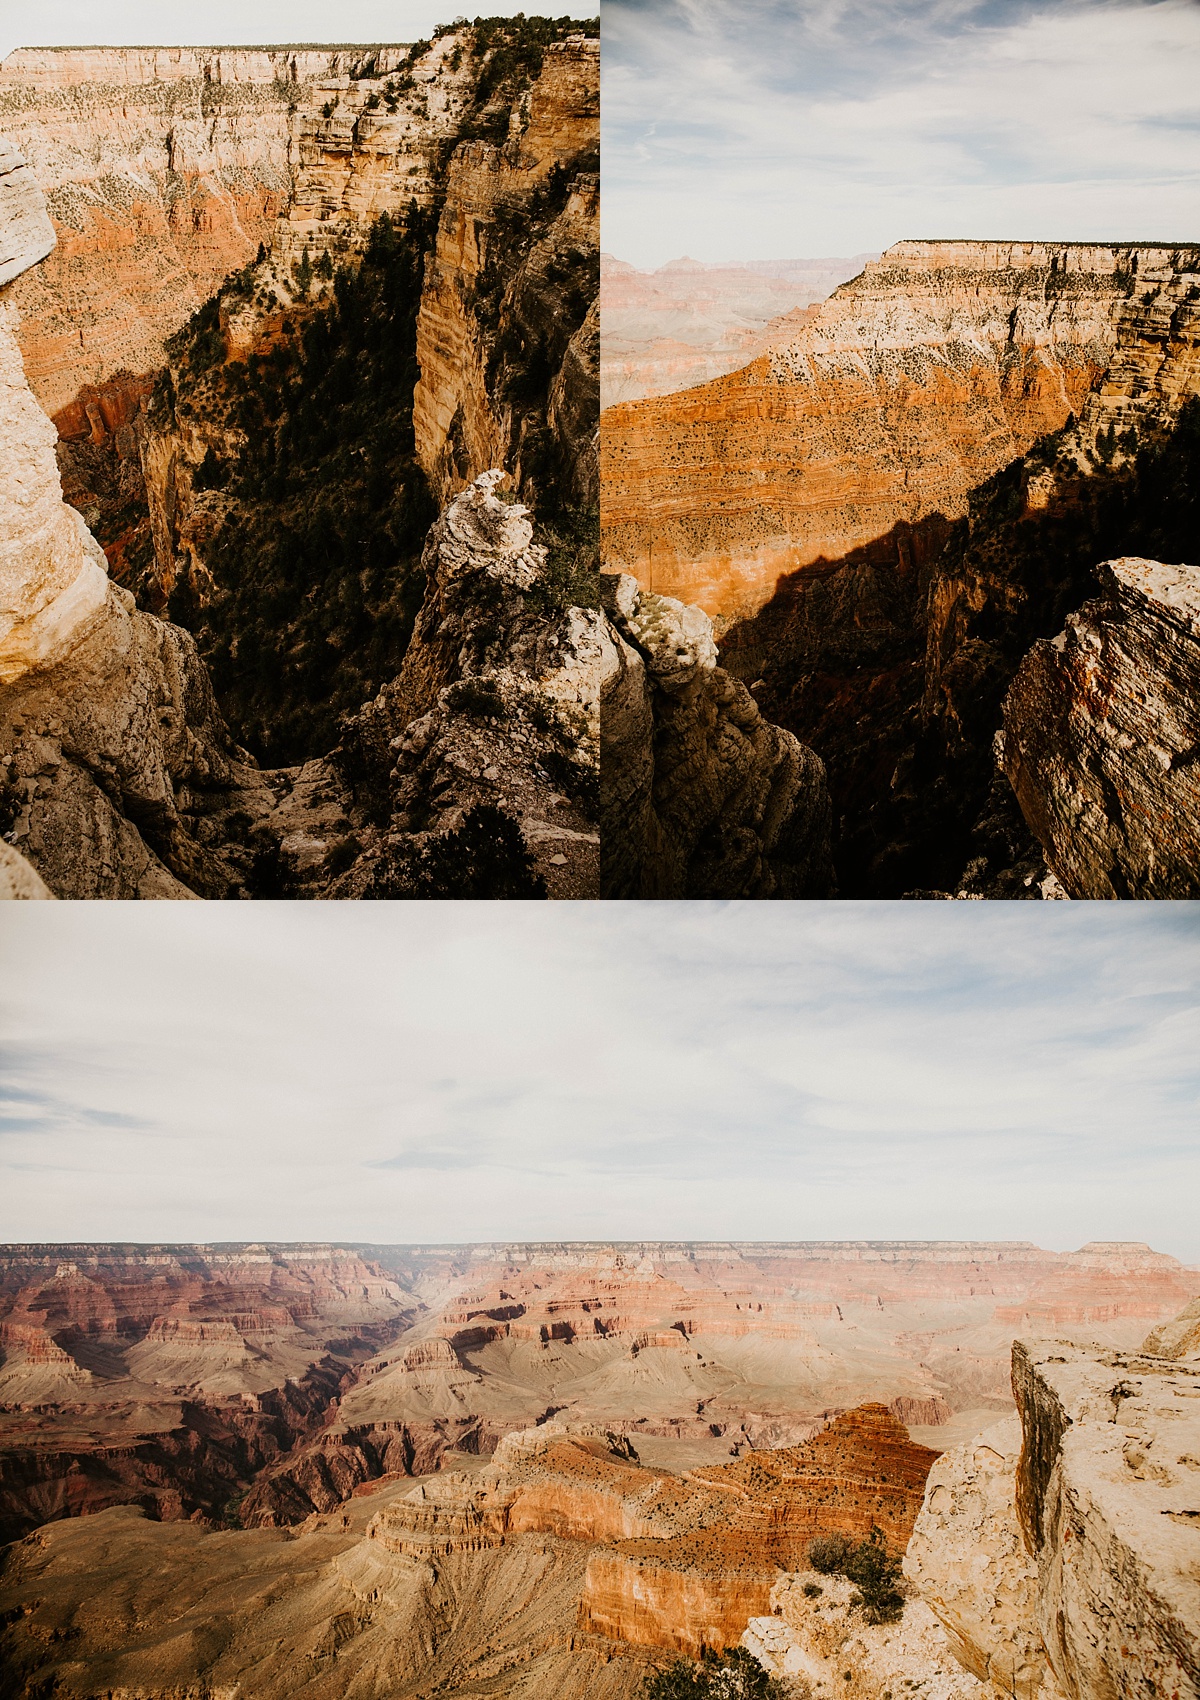
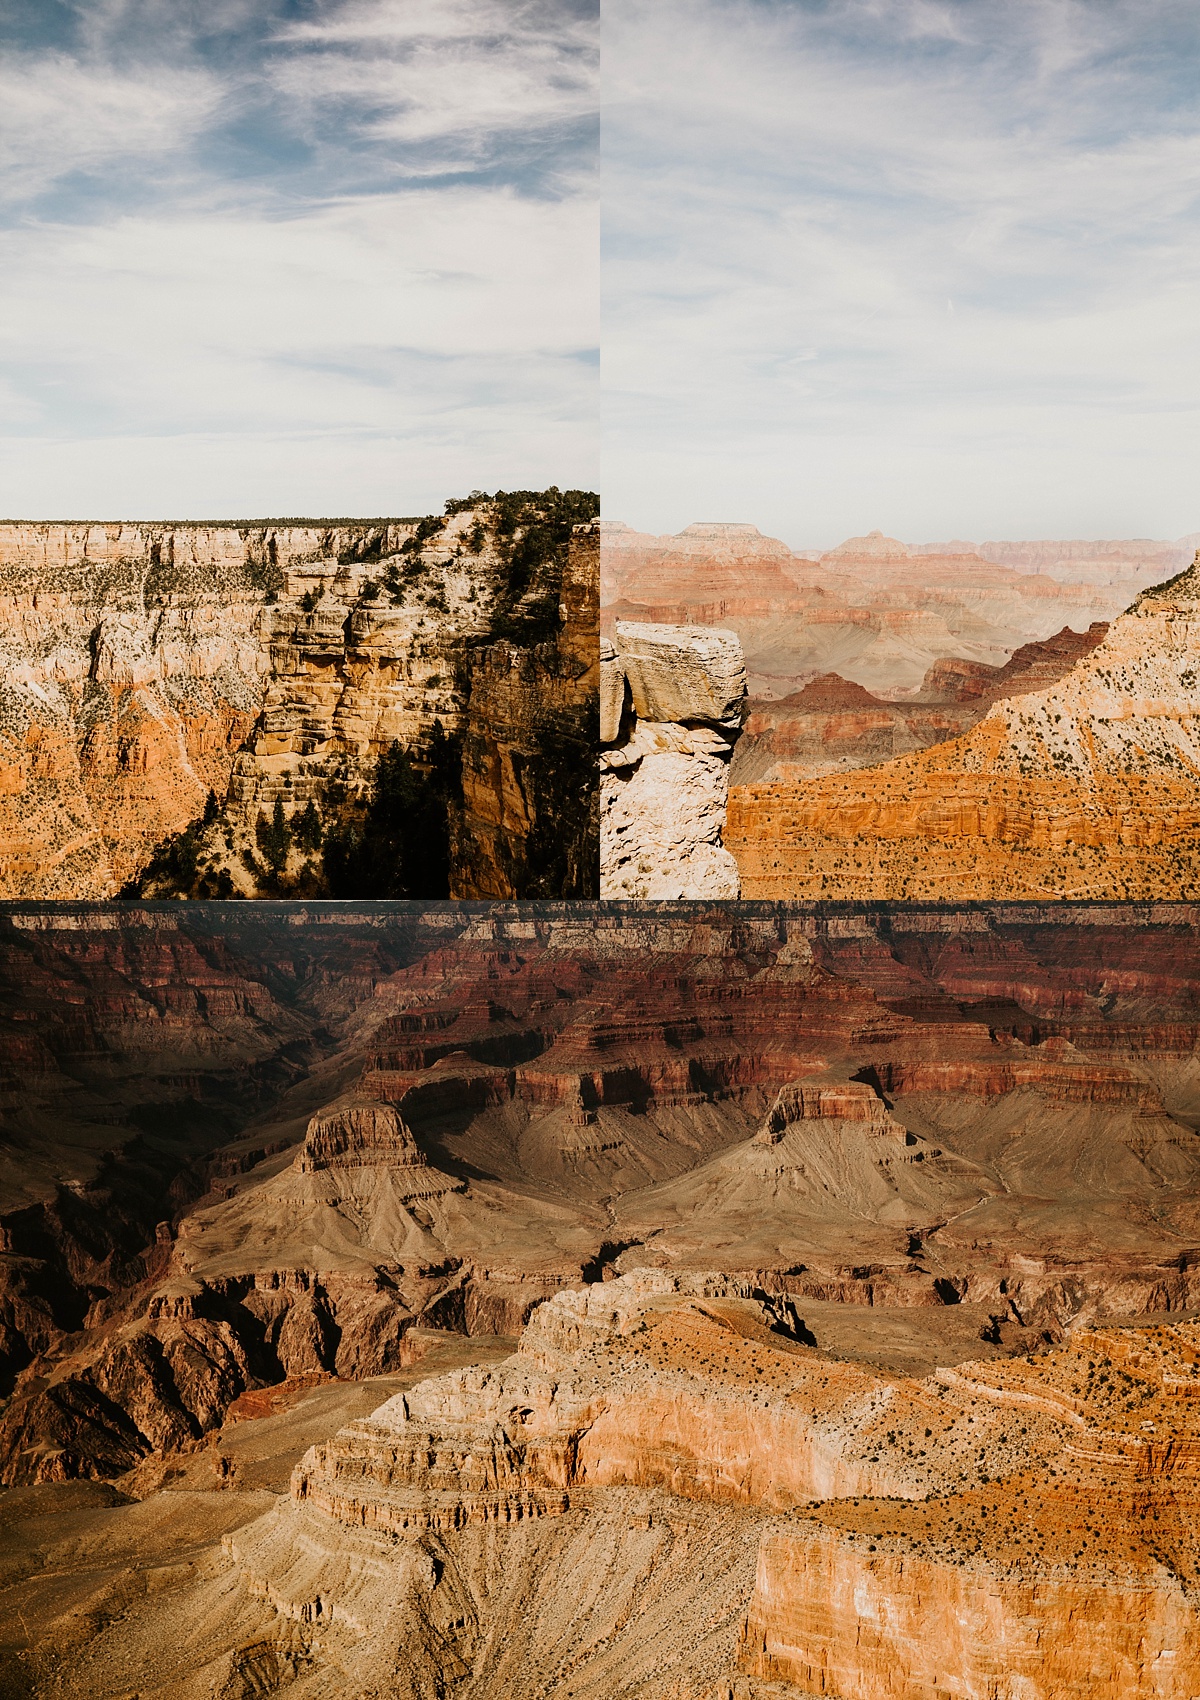
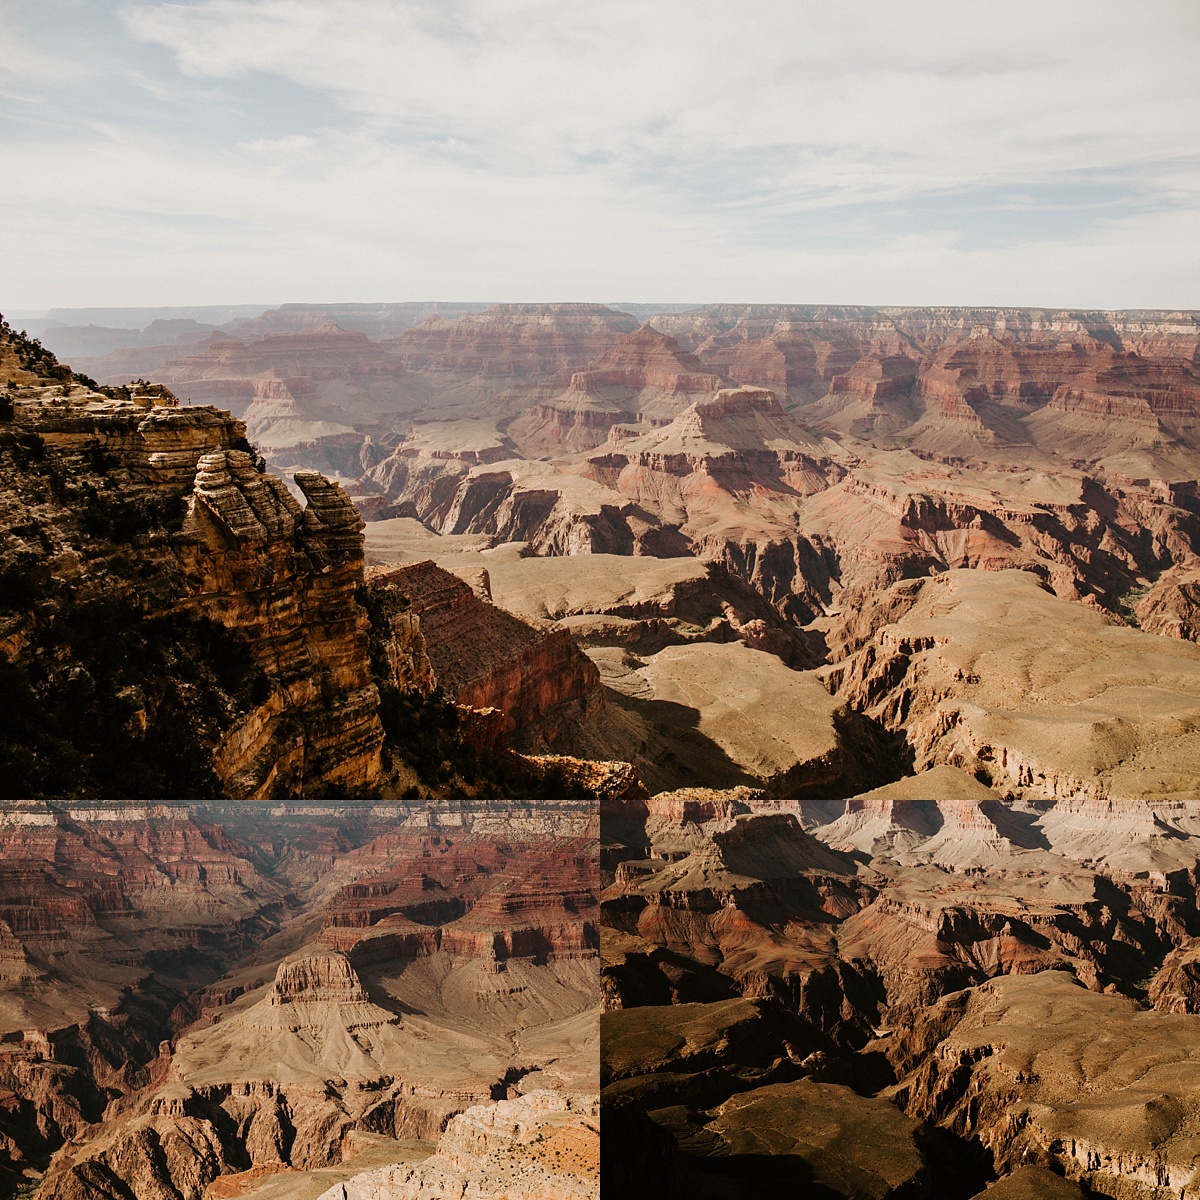
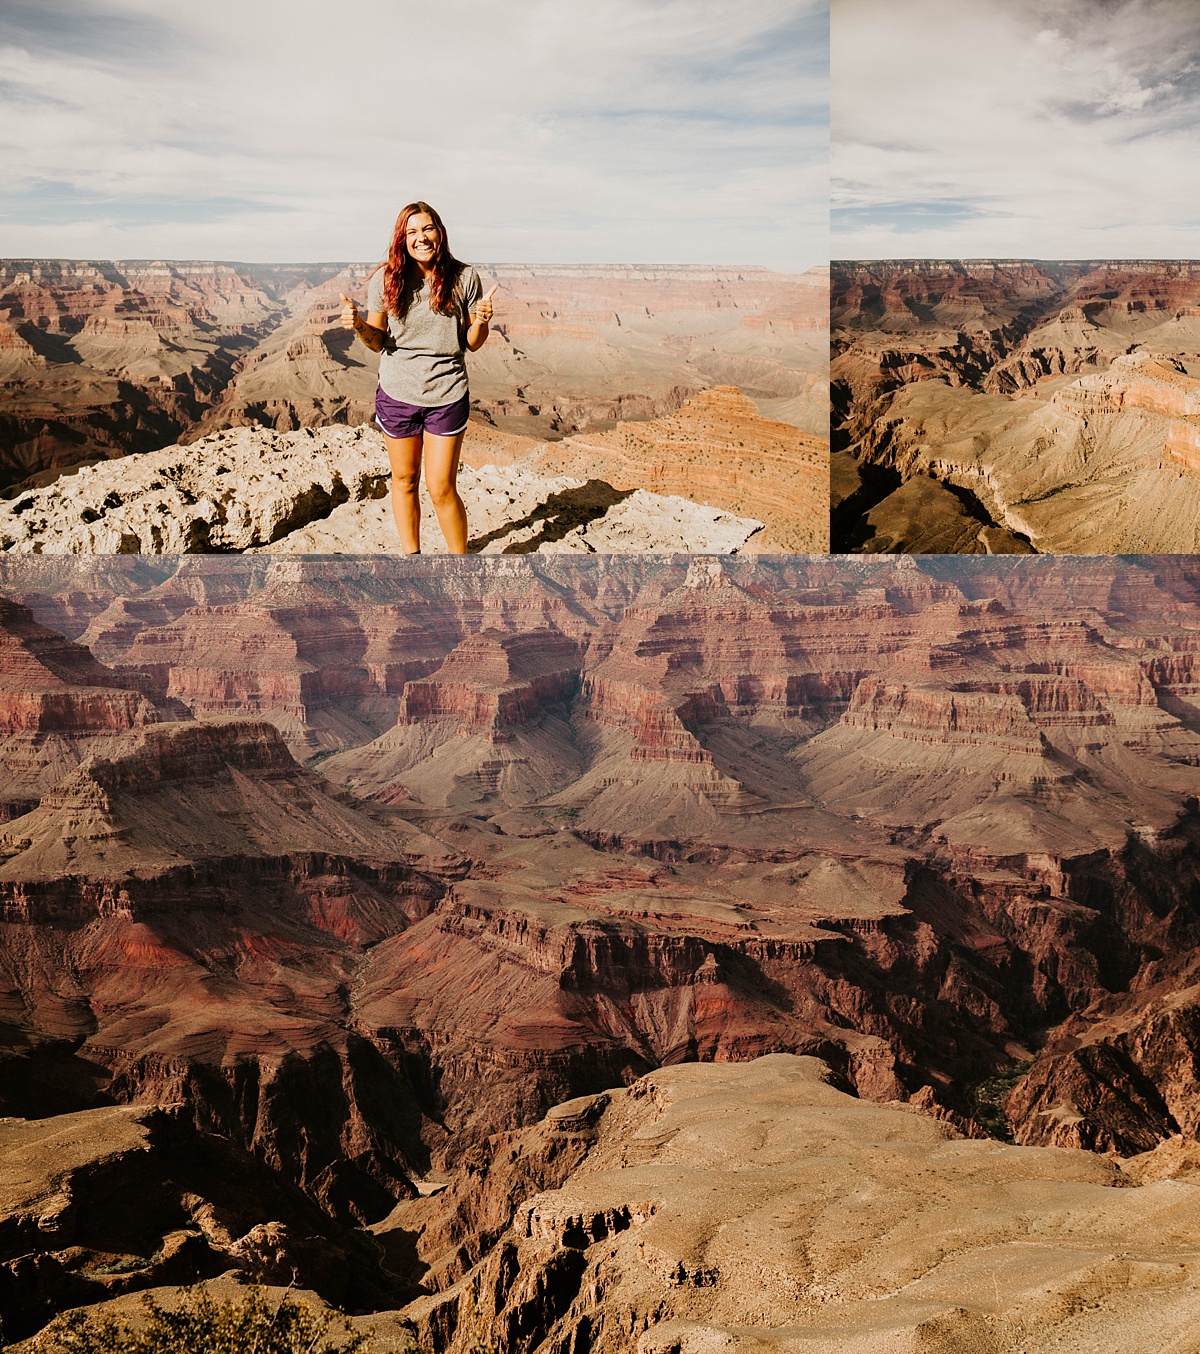
After hanging out on the viewing deck, I decided to adventure around a bit before hopping back in the car. There was another jut-out further down that didn’t have any rails – I of course decided it was the perfect spot to climb down and get even BETTER shots than what I already had been able to snap. It was a little scary (the drop off was literally a foot away on either side at one point) but 100% worth it. Scroll down to see the Grand Canyon (and then scroll further to see Antelope Canyon and Horseshoe Bend!)
Next: Antelope Canyon
After seeing the Grand Canyon, we hopped in the car to head to Page, Arizona to see Antelope Canyon and Horseshoe Bend. Mather Point to Page is about a 2.5 hour drive, with NOTHING in between. Once we started driving, we were so thankful to have filled up our car with gas at the Grand Canyon because we didn’t see another one for at least 1.5 hours. The drive was absolutely gorgeous and so breathtaking. Since we arrived in Page after dark, we grabbed food at an amazing live-band barbecue place called Big John’s Texas BBQ – it was hands down the best BBQ I’ve had AND it was across from Clarinon Inn, where we were staying for the night! Hotels in Page can be pretty pricey, but we were able to get ours for $135 on hotels.com.
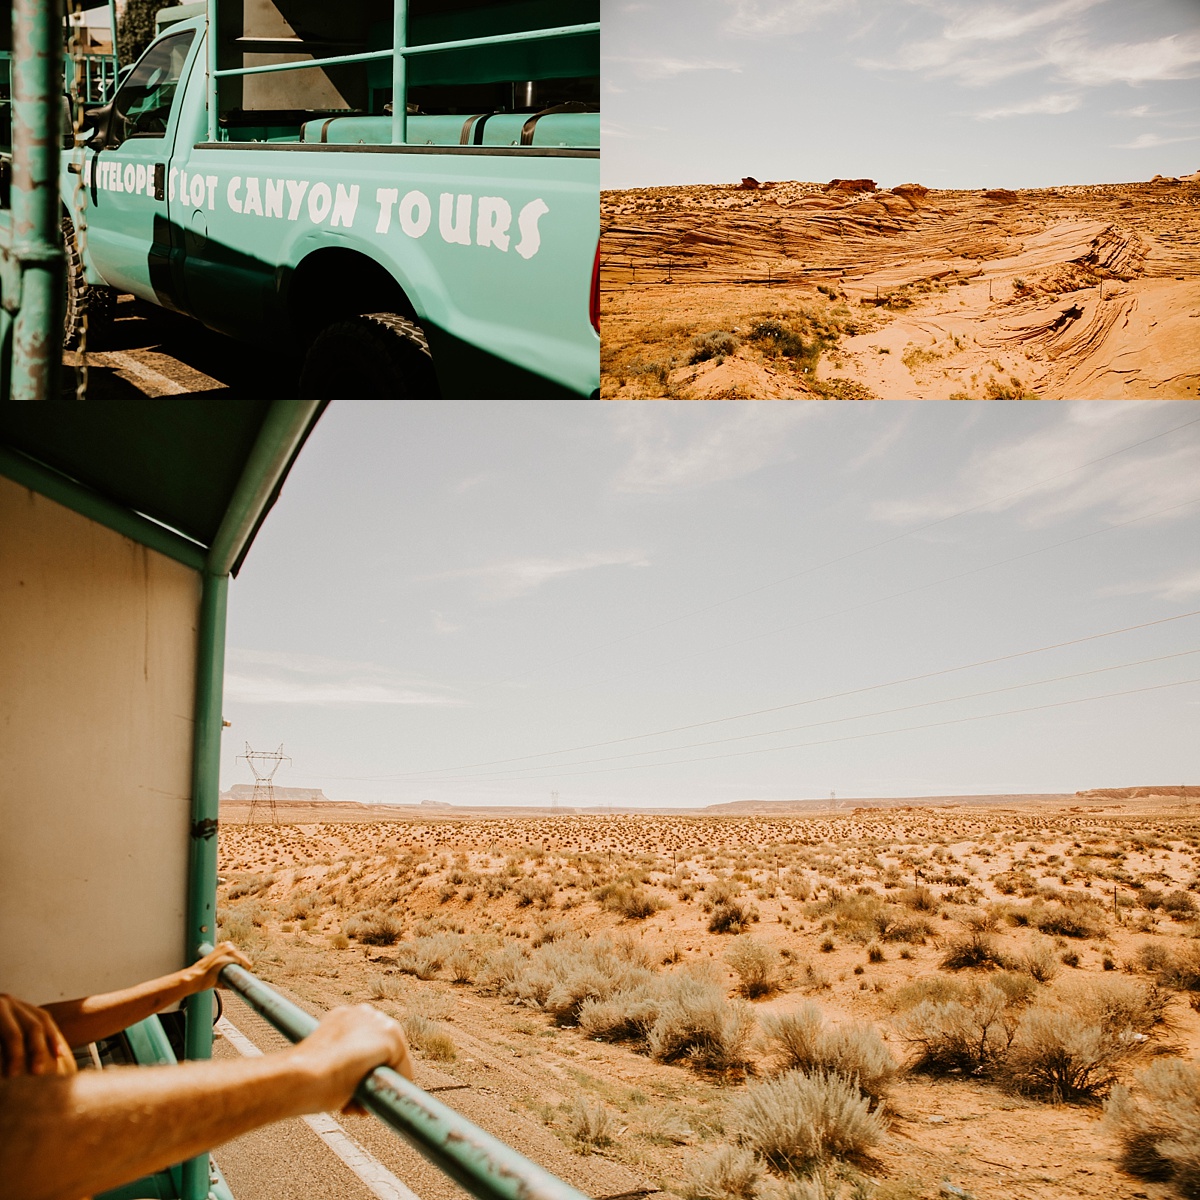
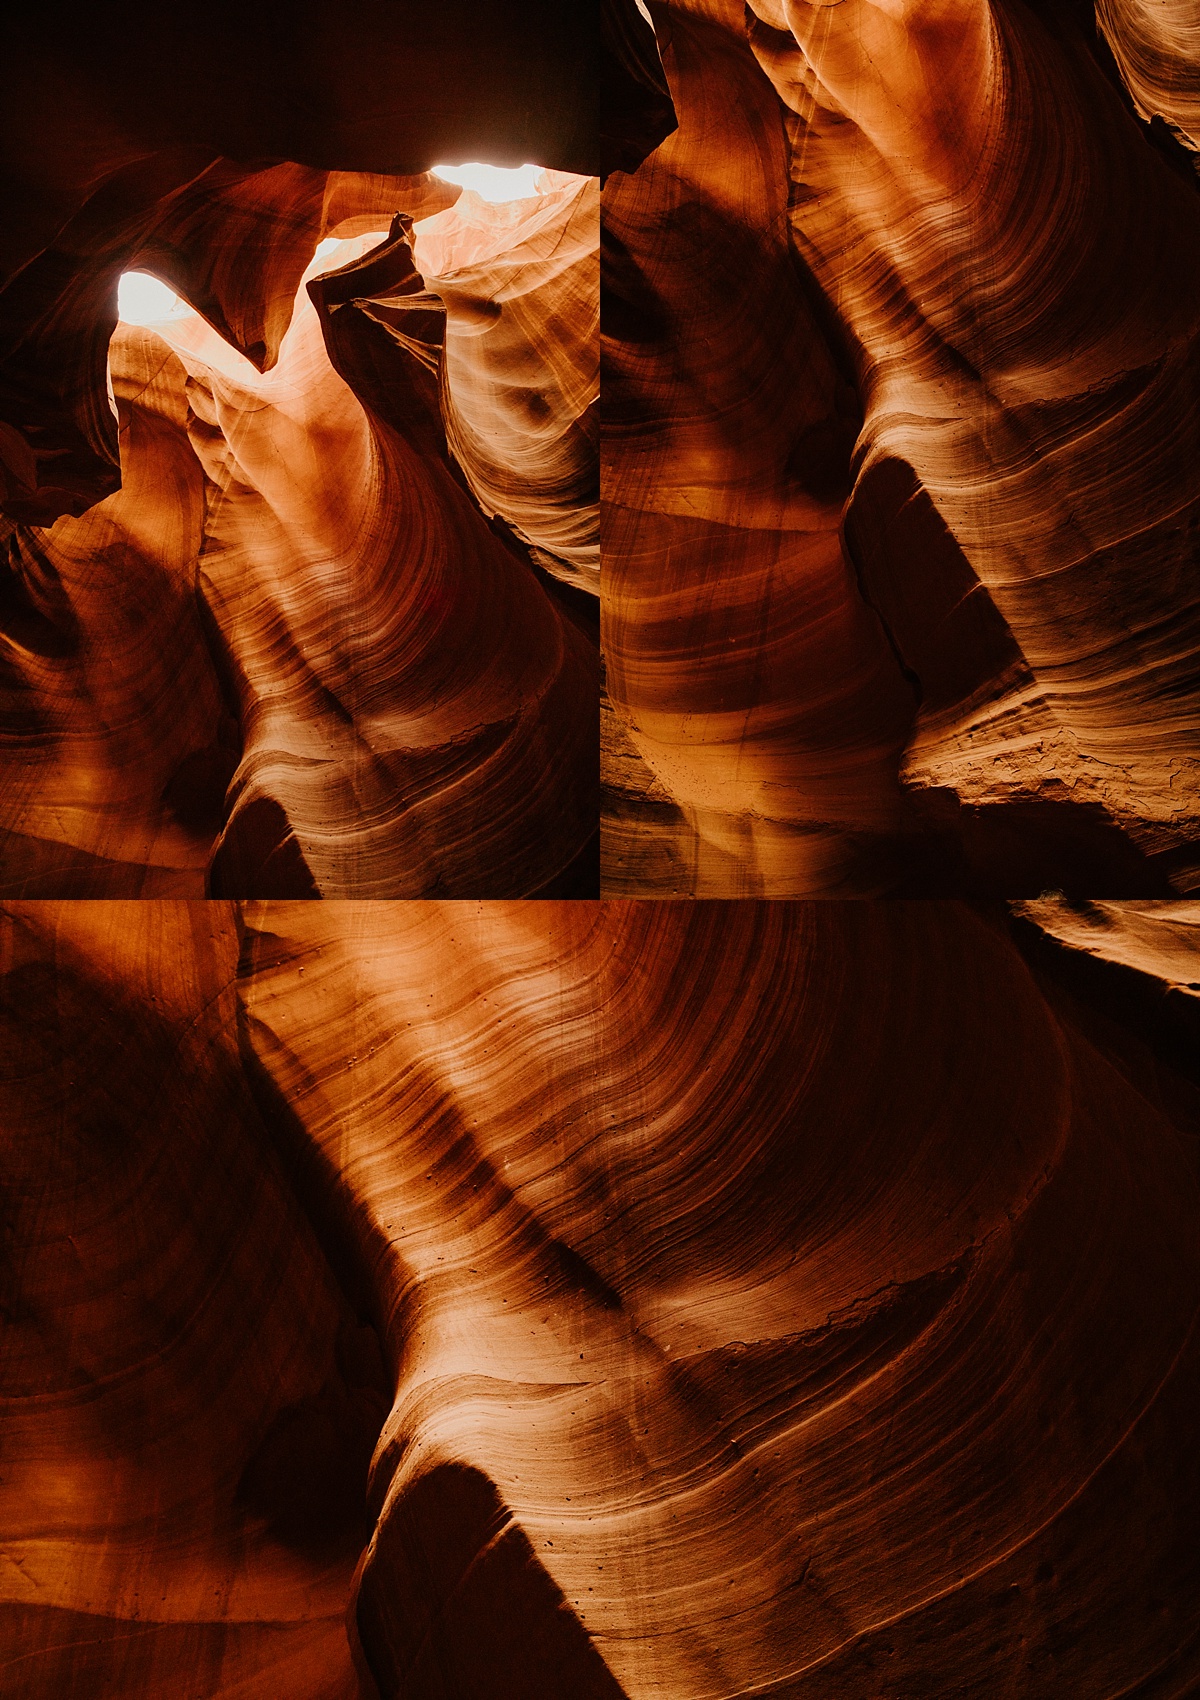
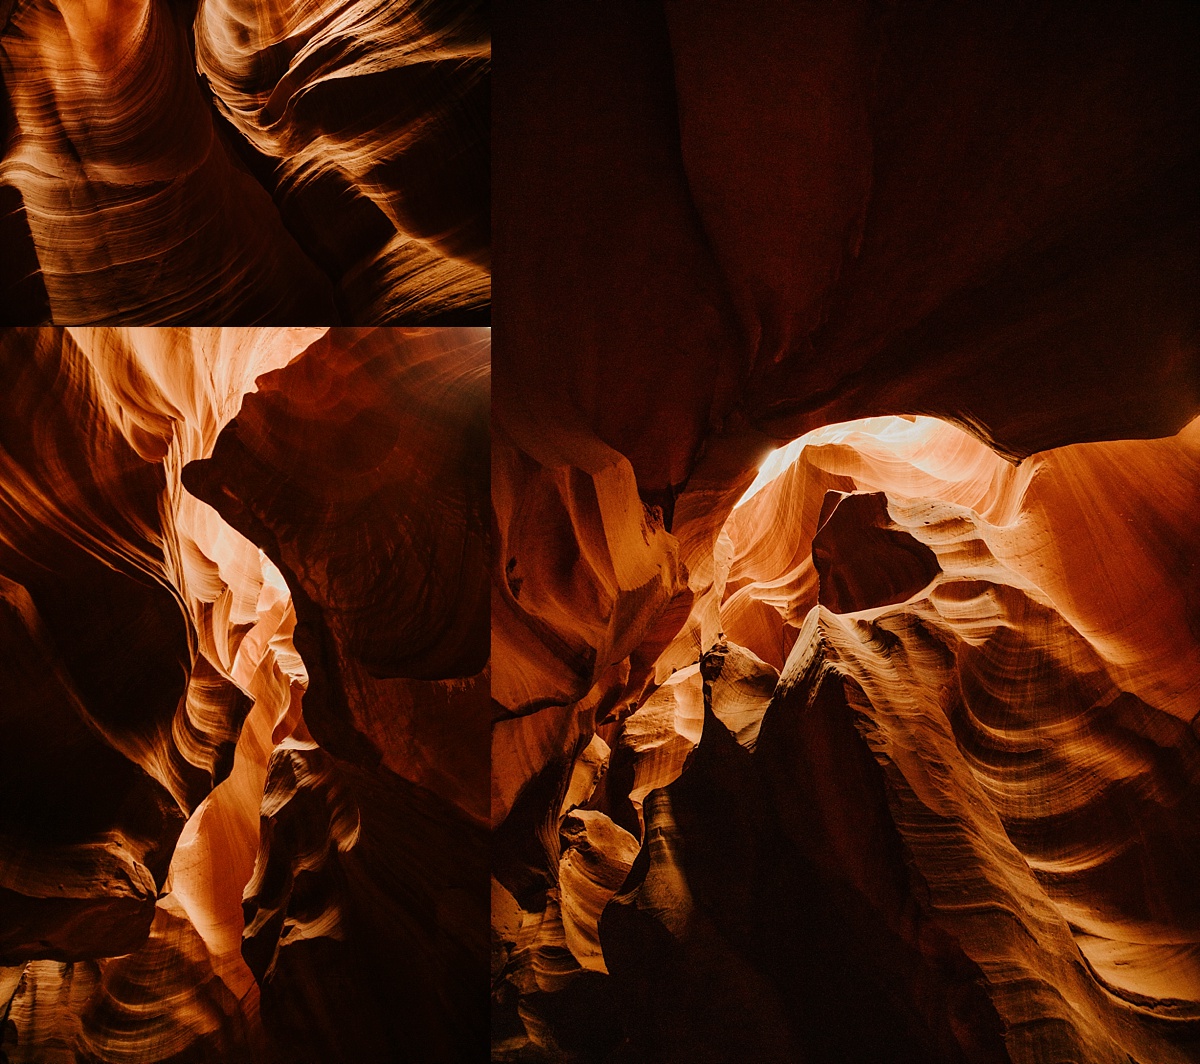
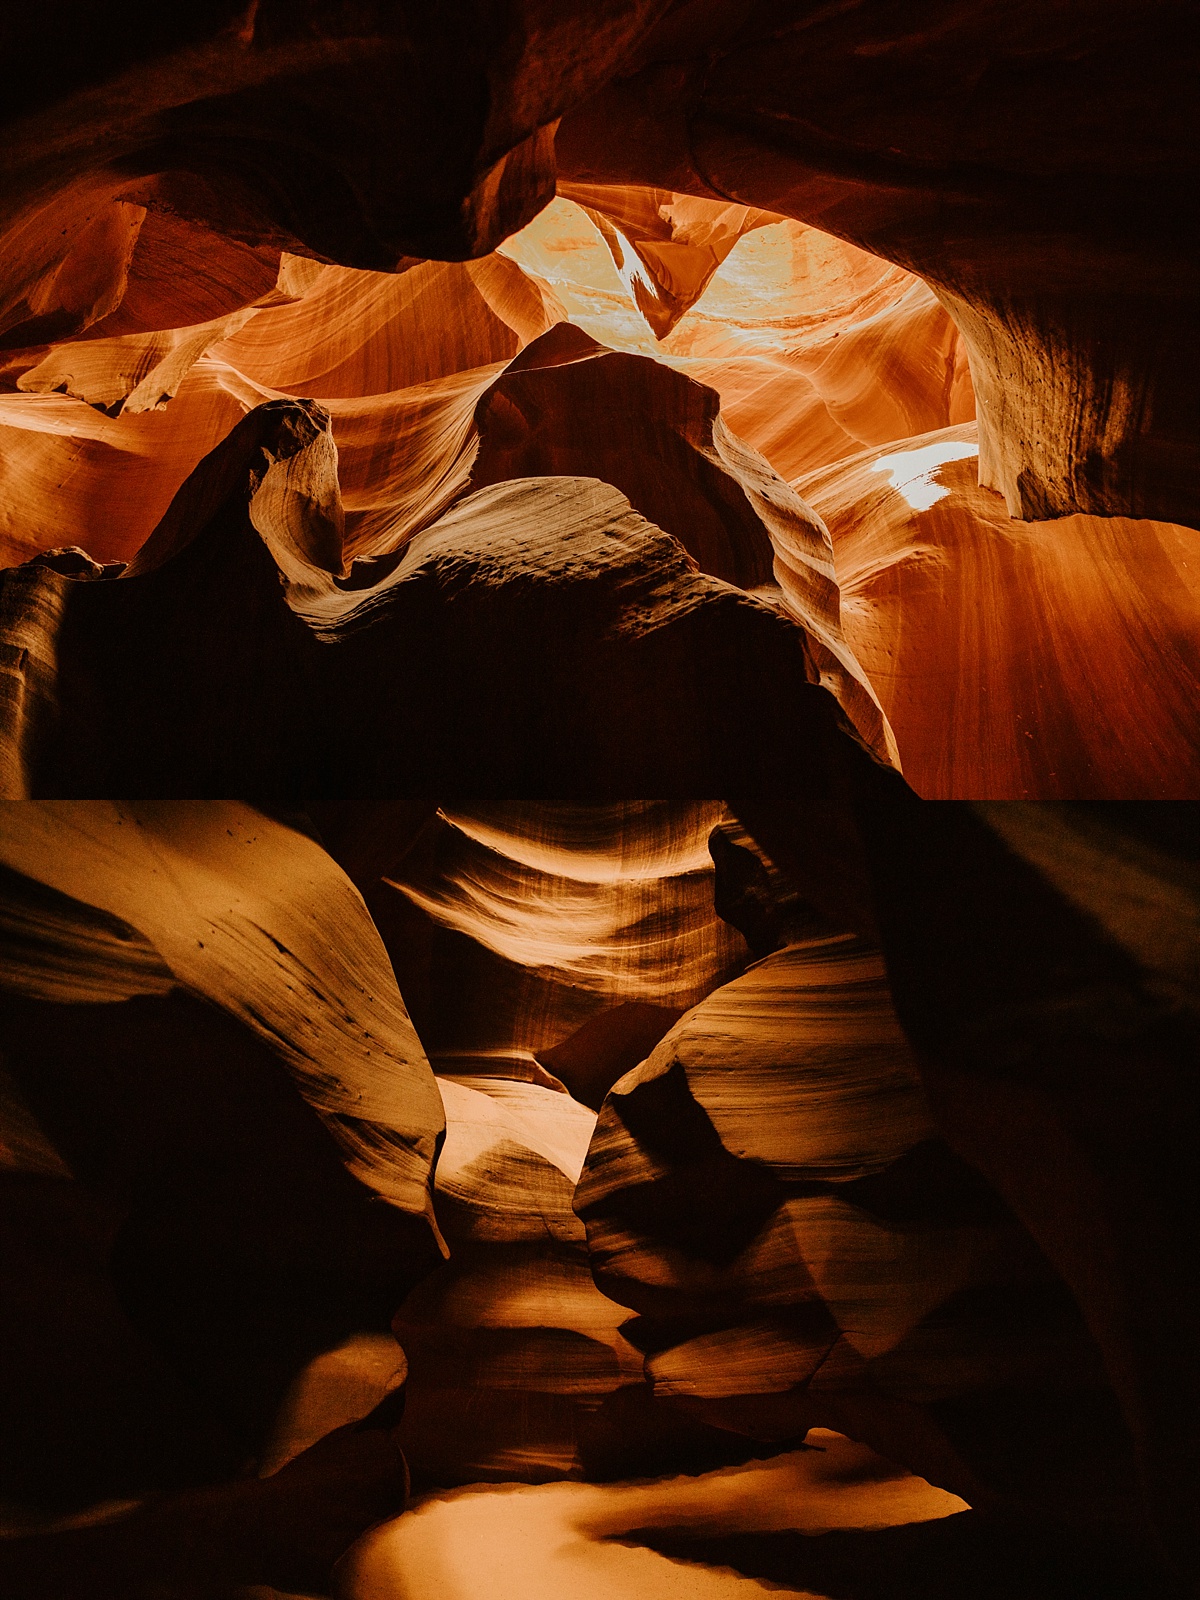
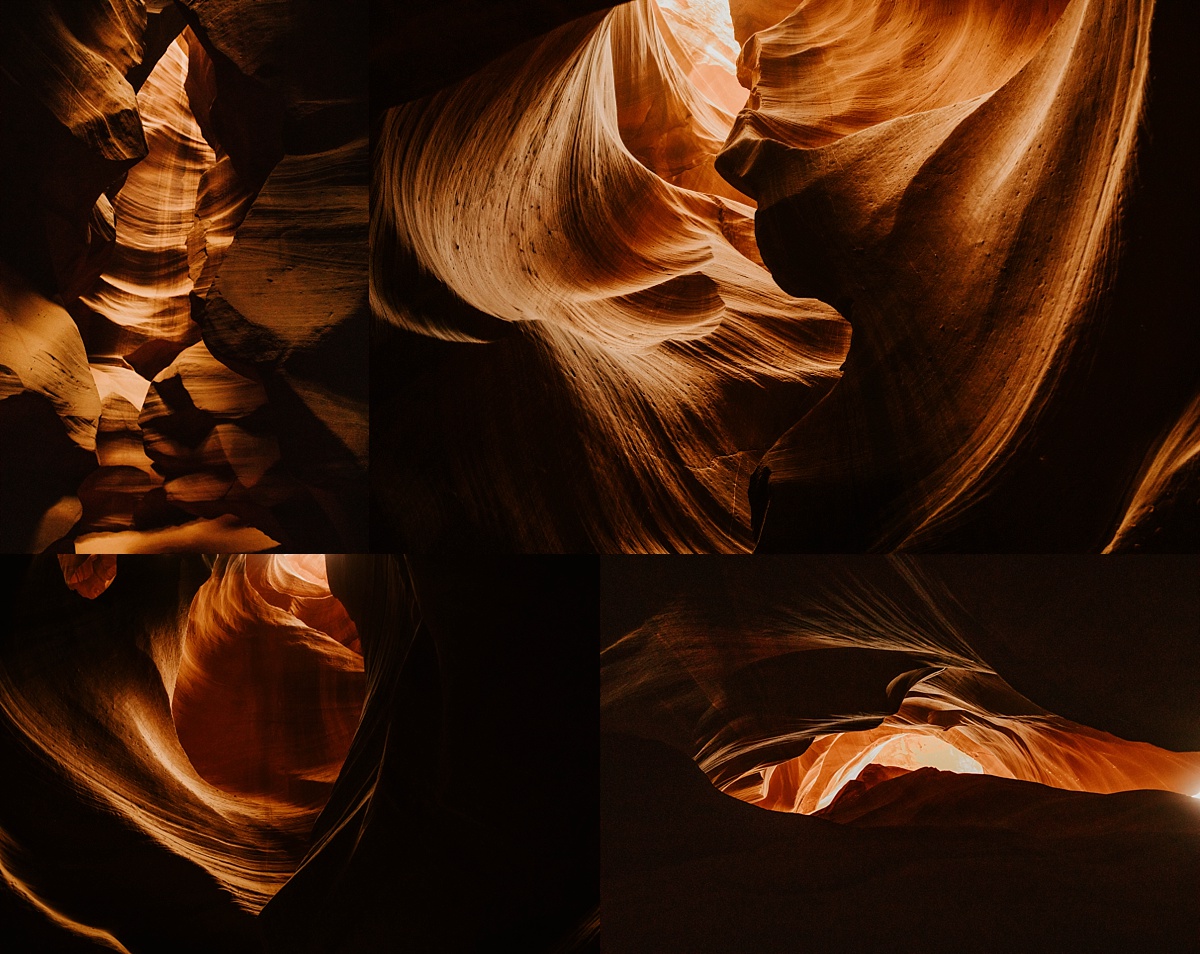
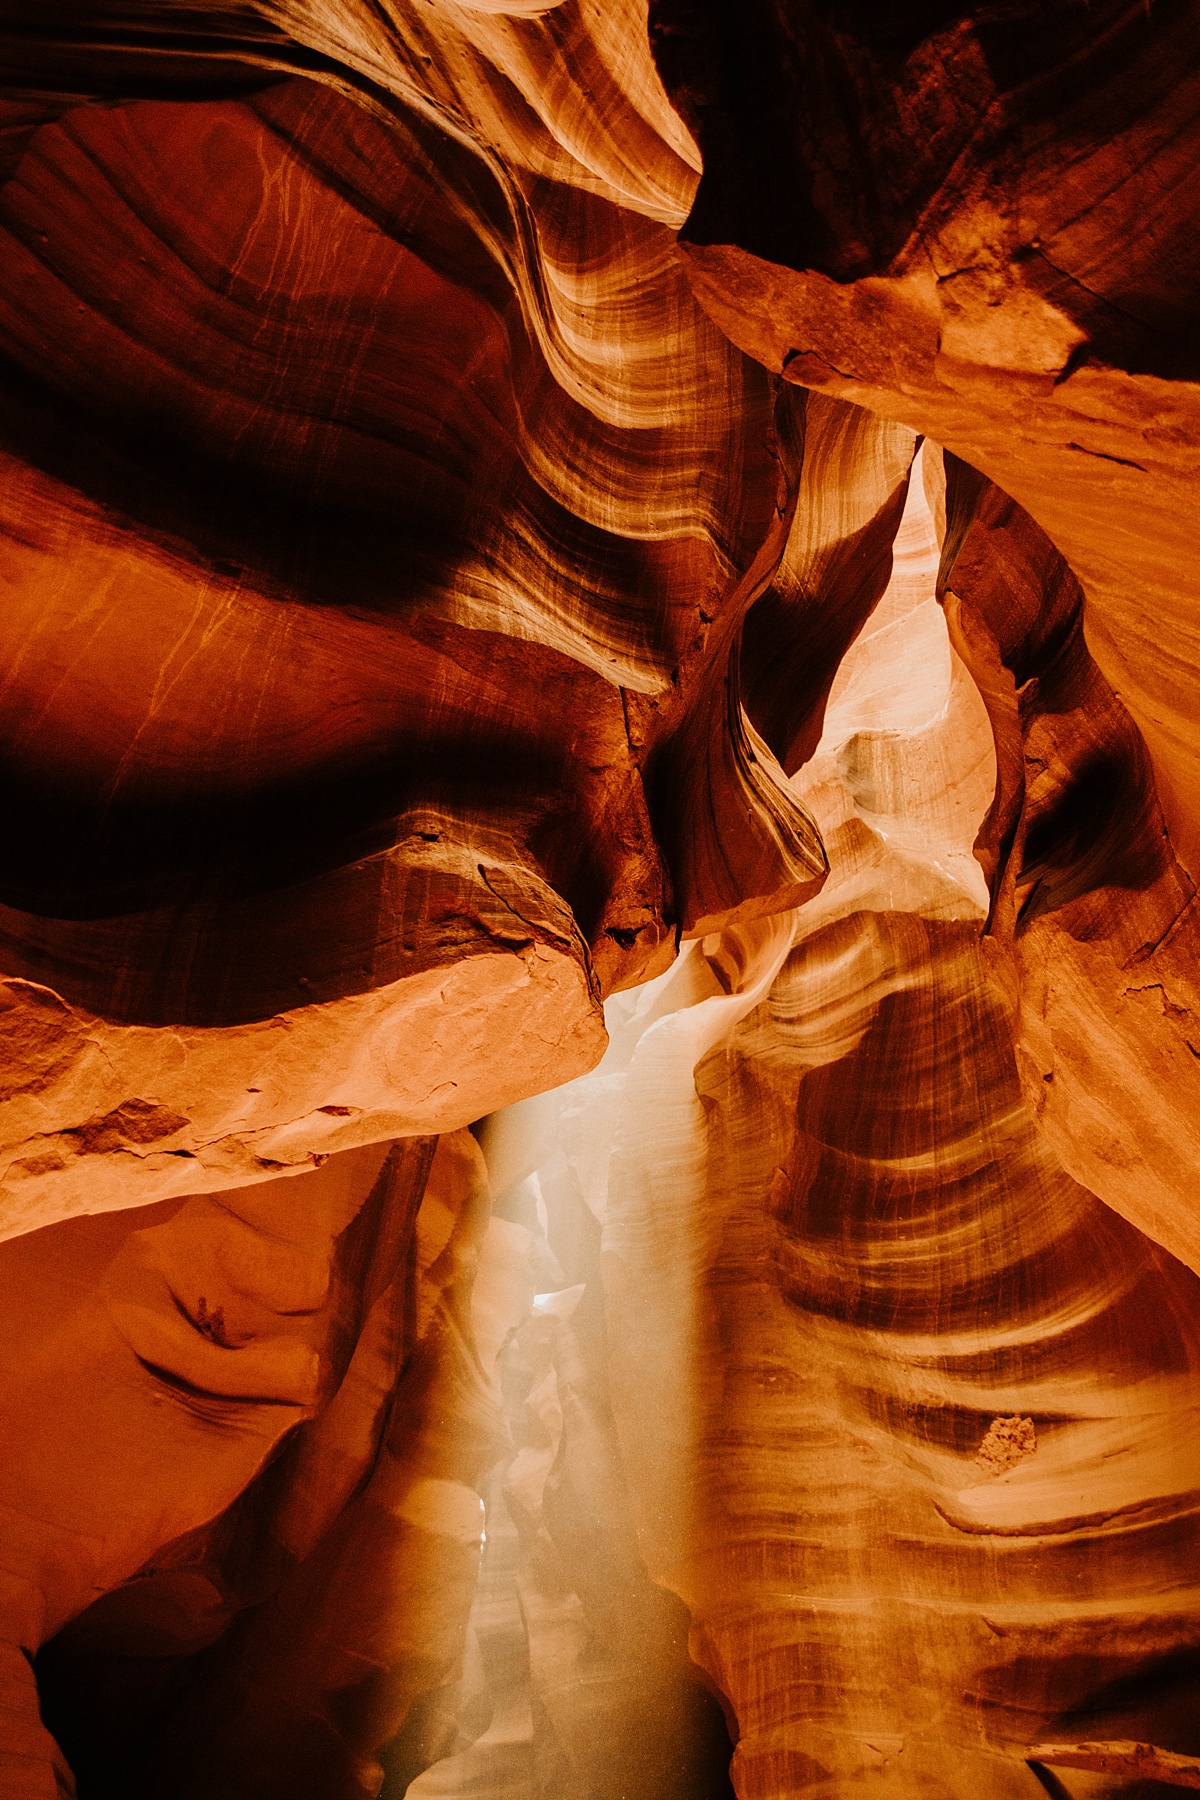
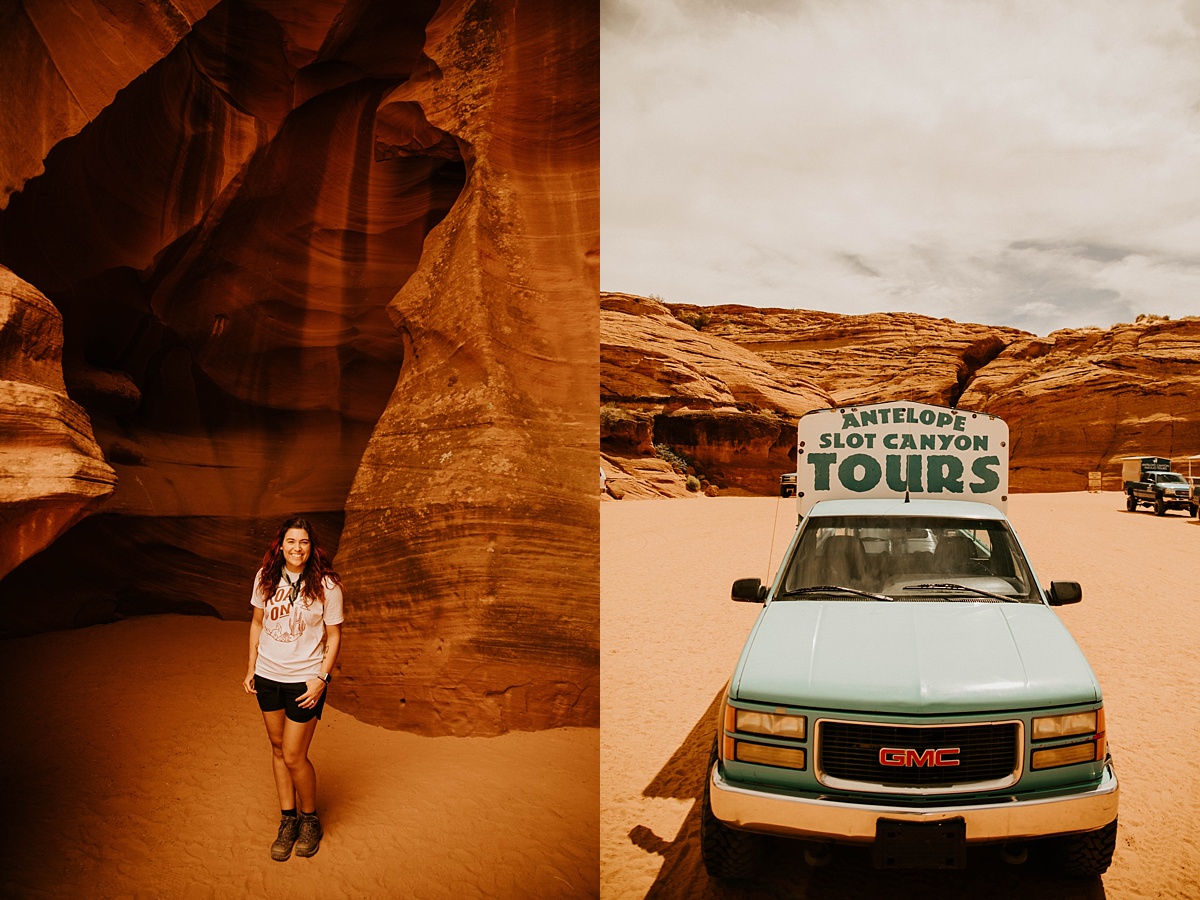
Prior to going on our trip, I researched A LOT about Antelope Canyon. It was the top location on my list and I wanted to make sure to do it right. After reading several travel blogs, I found out that you aren’t allowed to go to the canyon unless you are apart of a tour group. Since it is on Navajo Territory, it’s protected land and there are several permits needed to access it (also the slot canyons can be pretty dangerous with flash flooding). After deciding to tour the Upper Canyon instead of the Lower Canyon, we chose to go with the Antelope Slot Canyon Tours, honestly because it was the cheapest and had a time slot near when I was looking for. We bought our tour ticks for $156 altogether, for their prime-time spot at 10:30am. If you’re planning a trip, definitely choose a time slot when the sun is high in the sky, to provide more lighting AND to see the gorgeous sun beams being casted into the canyon! Make sure to buy your tickets ahead of time. I booked ours a month out and there were several other tours that were already completely booked! We chose to do the regular tour over the photography tour because after reading several blogs, I knew I would be able to get the images I was looking for without having to pay the higher cost for the photography tour (fun fact: you have to have a DSLR camera and tripod to be allowed on the photography tour!).
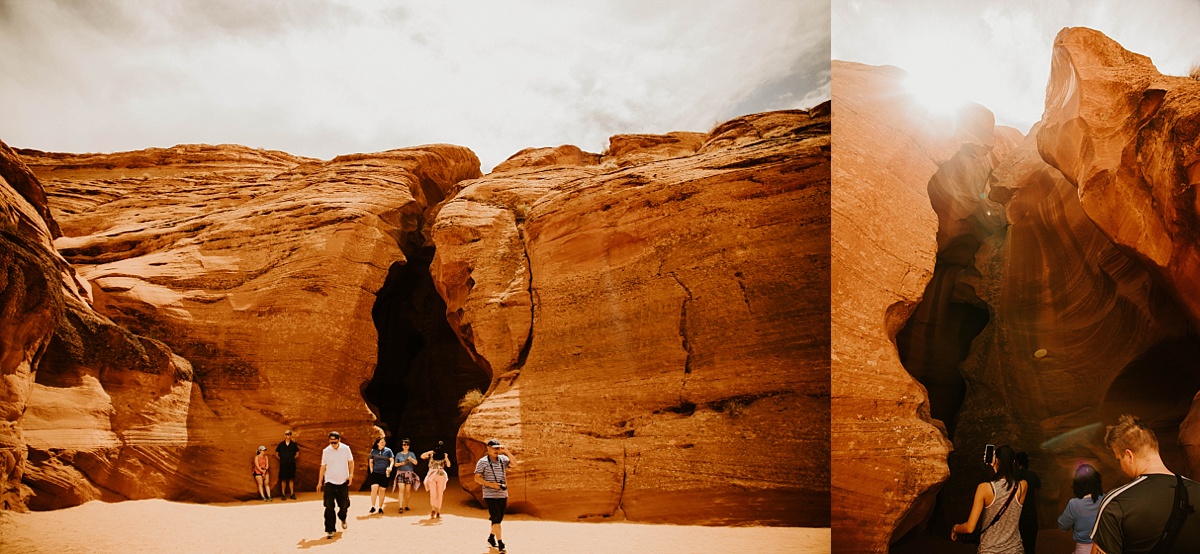
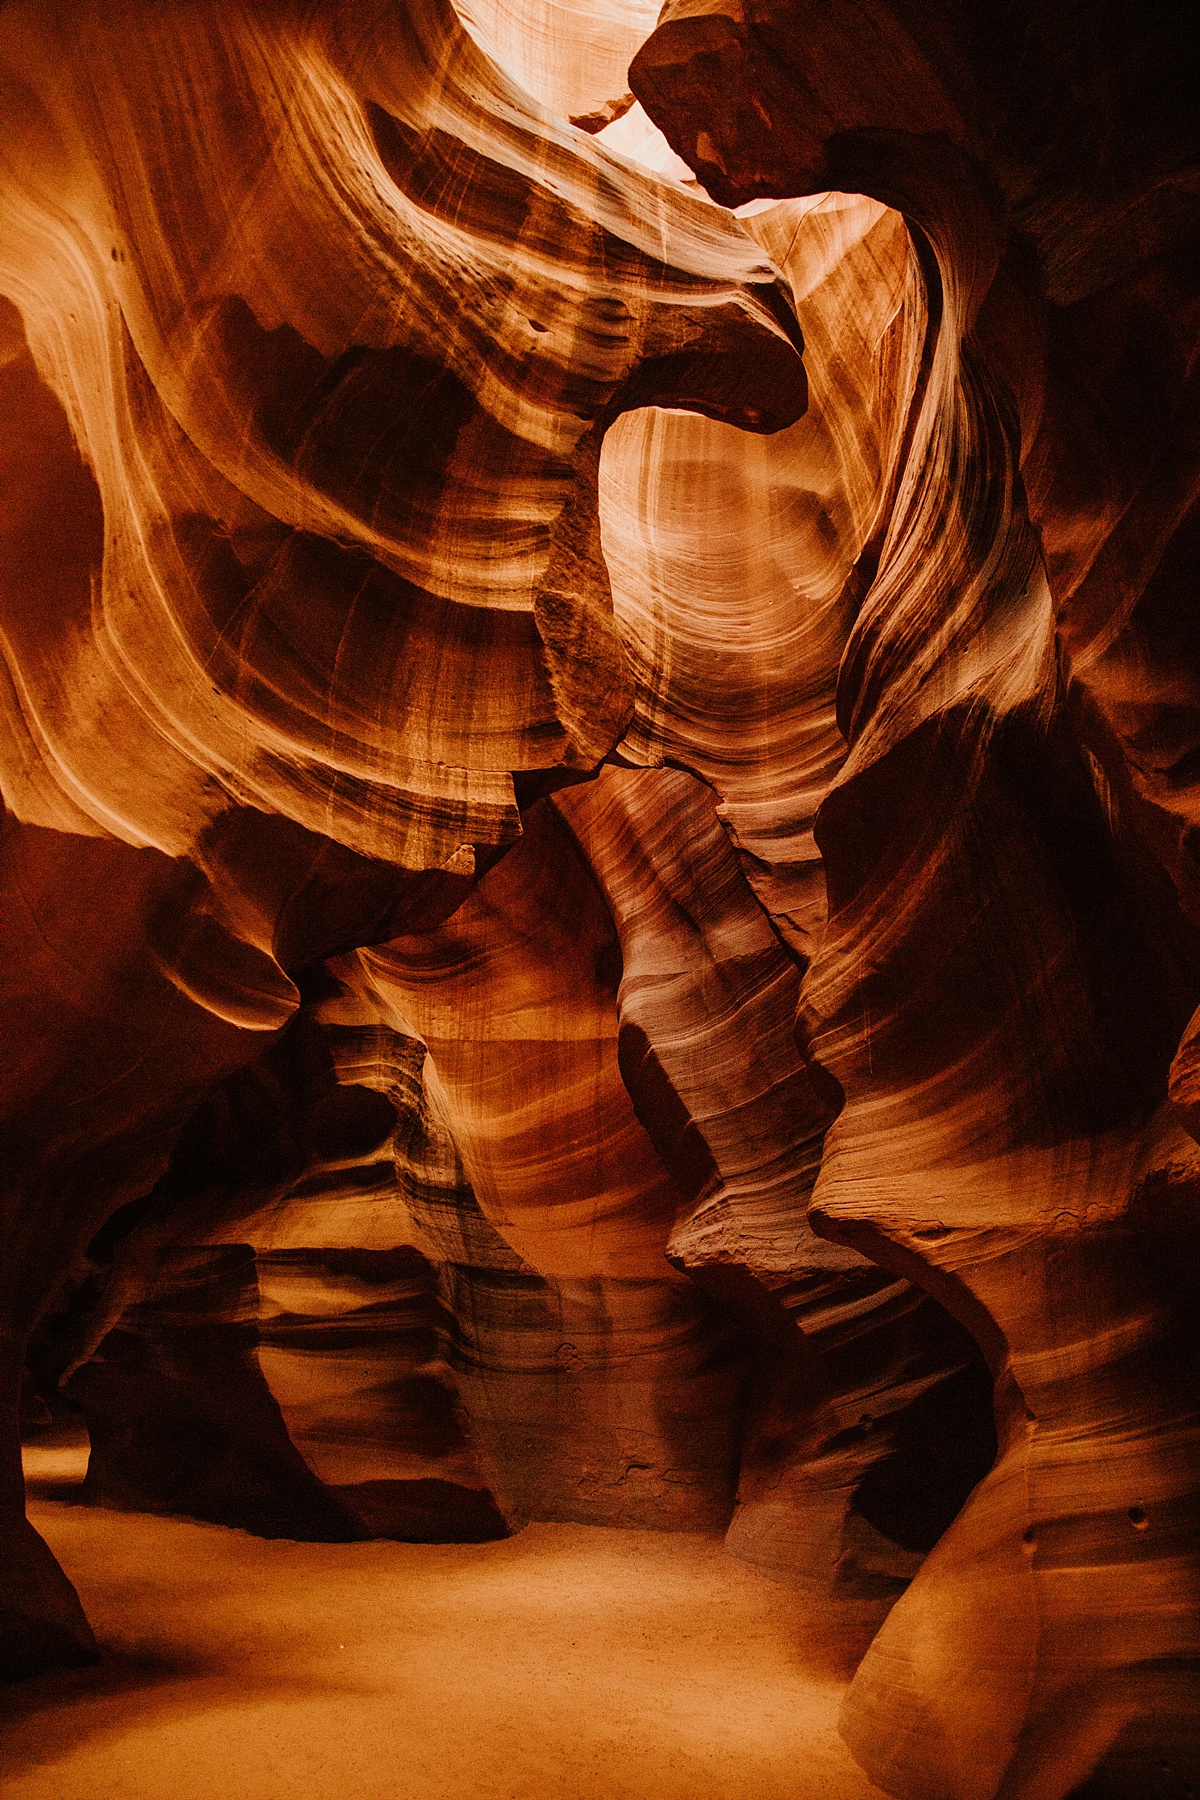
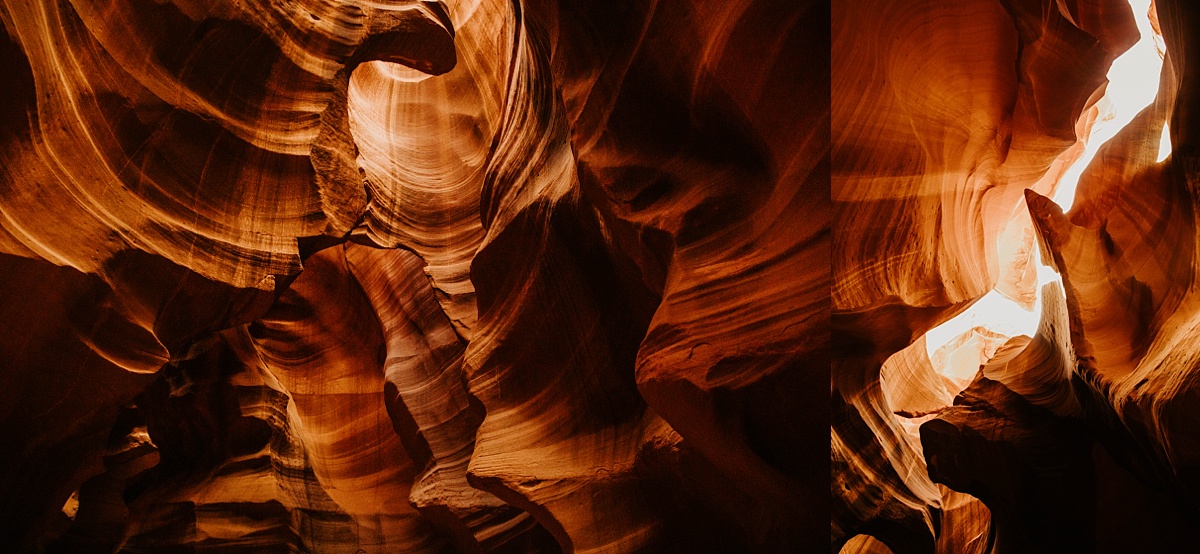
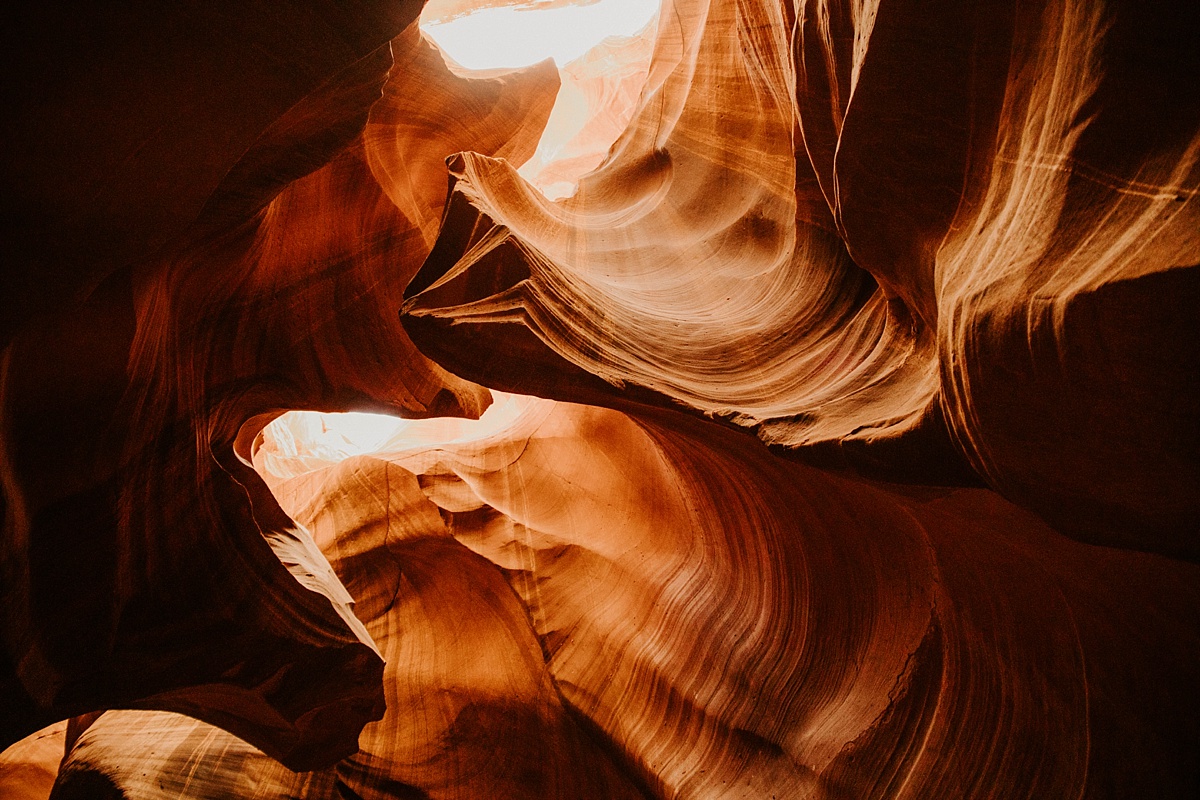
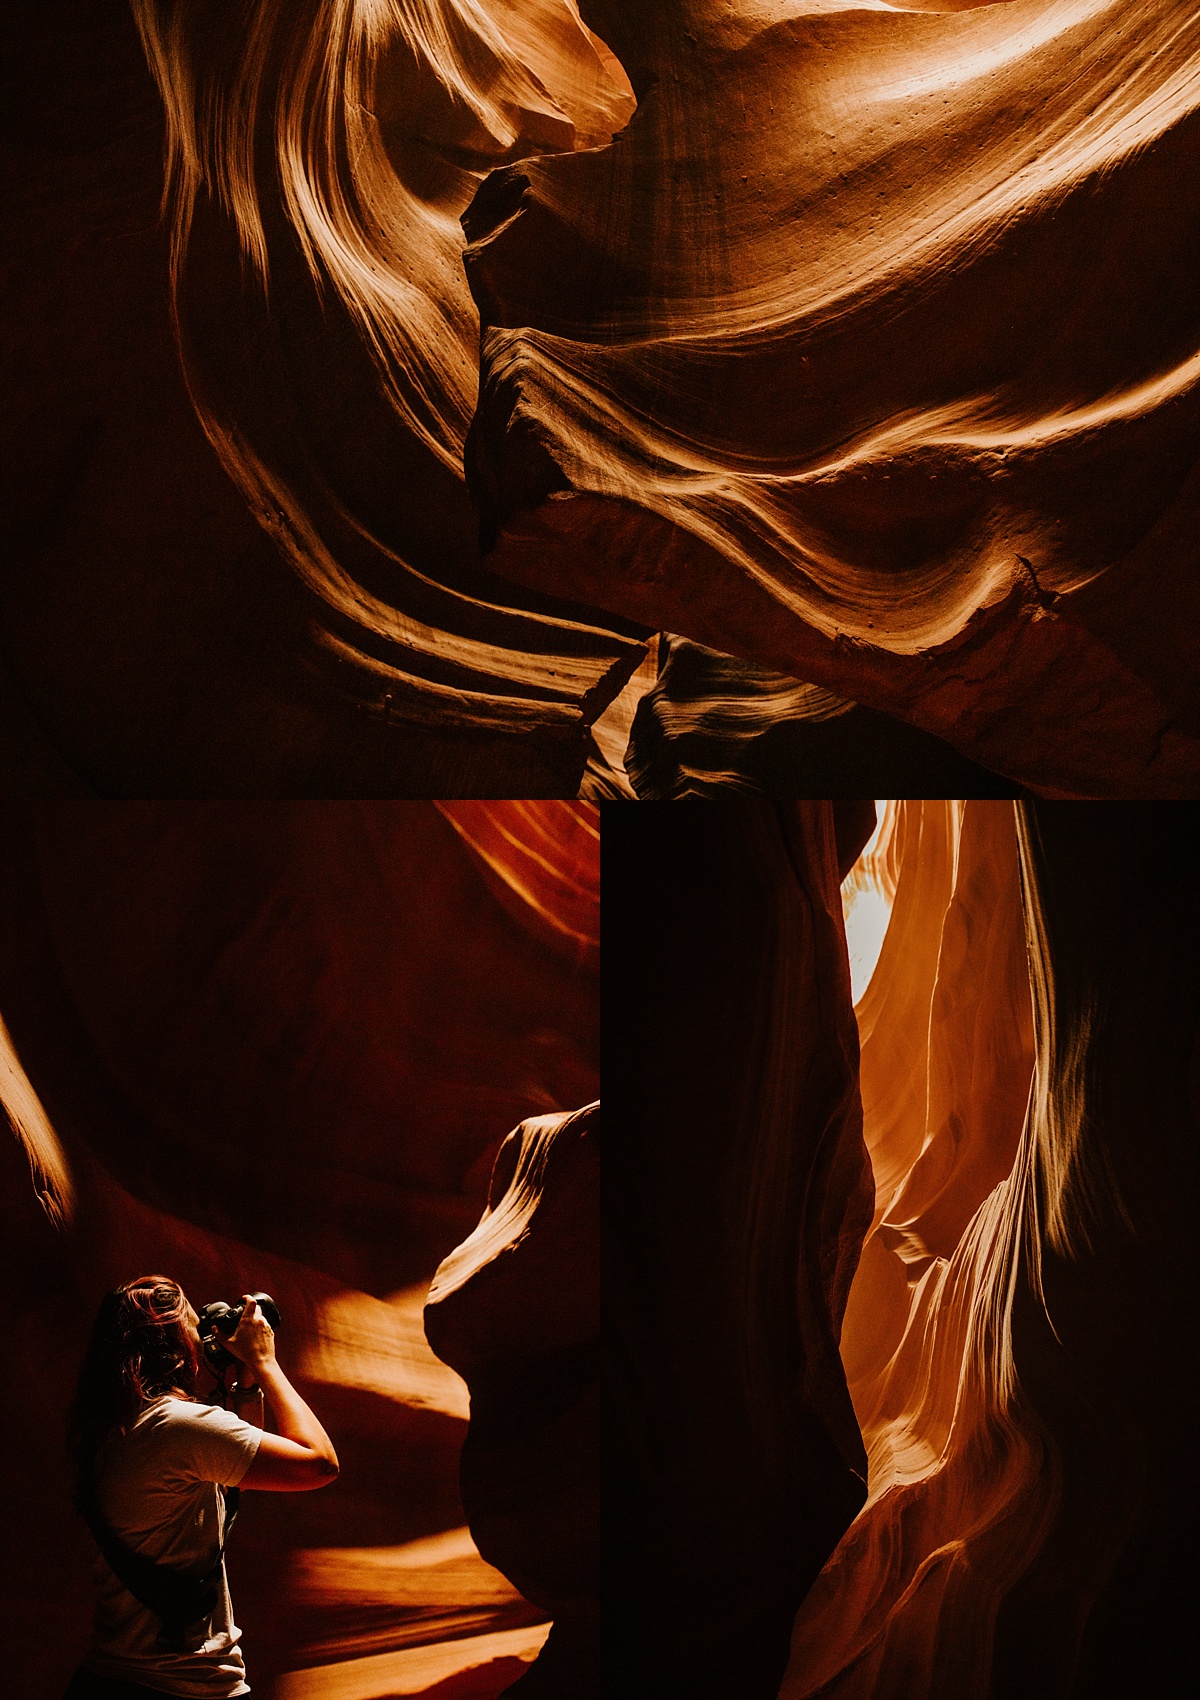
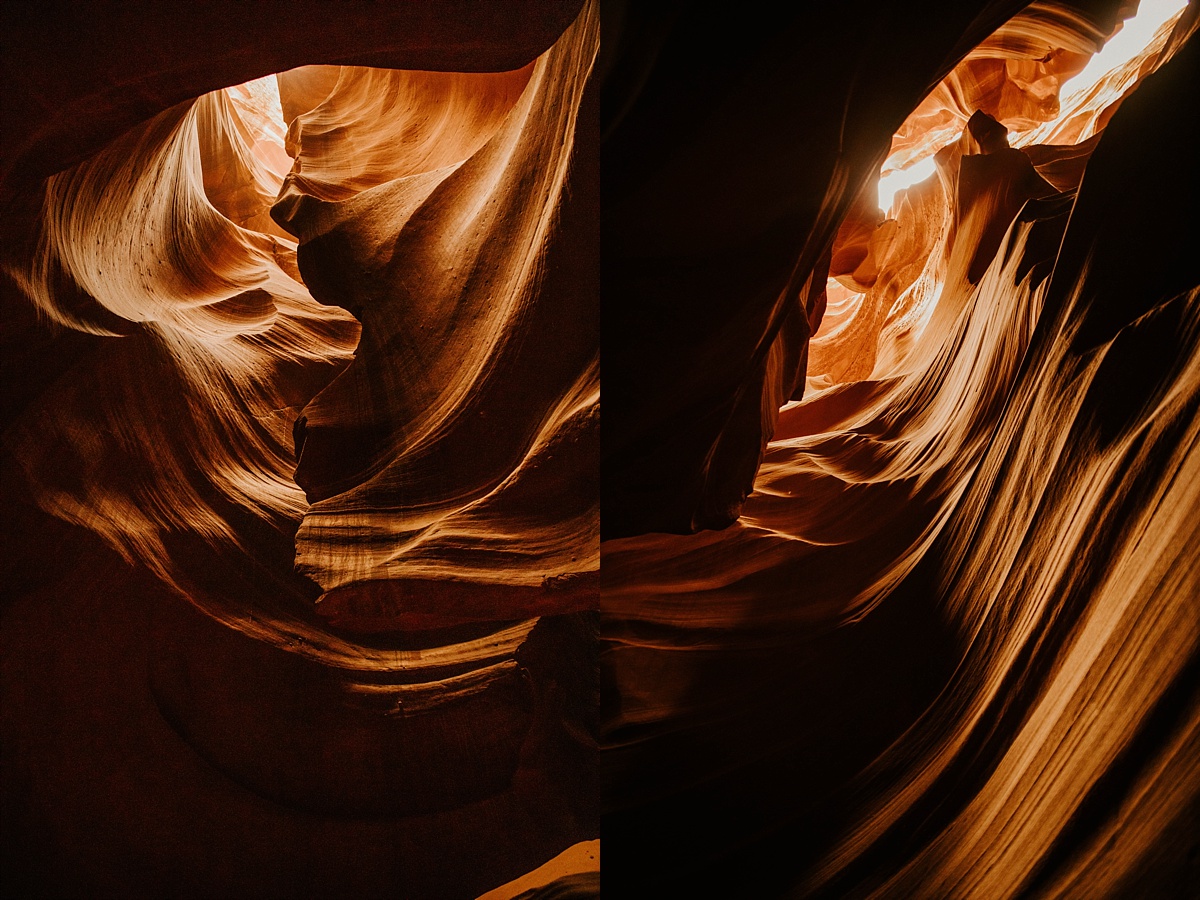
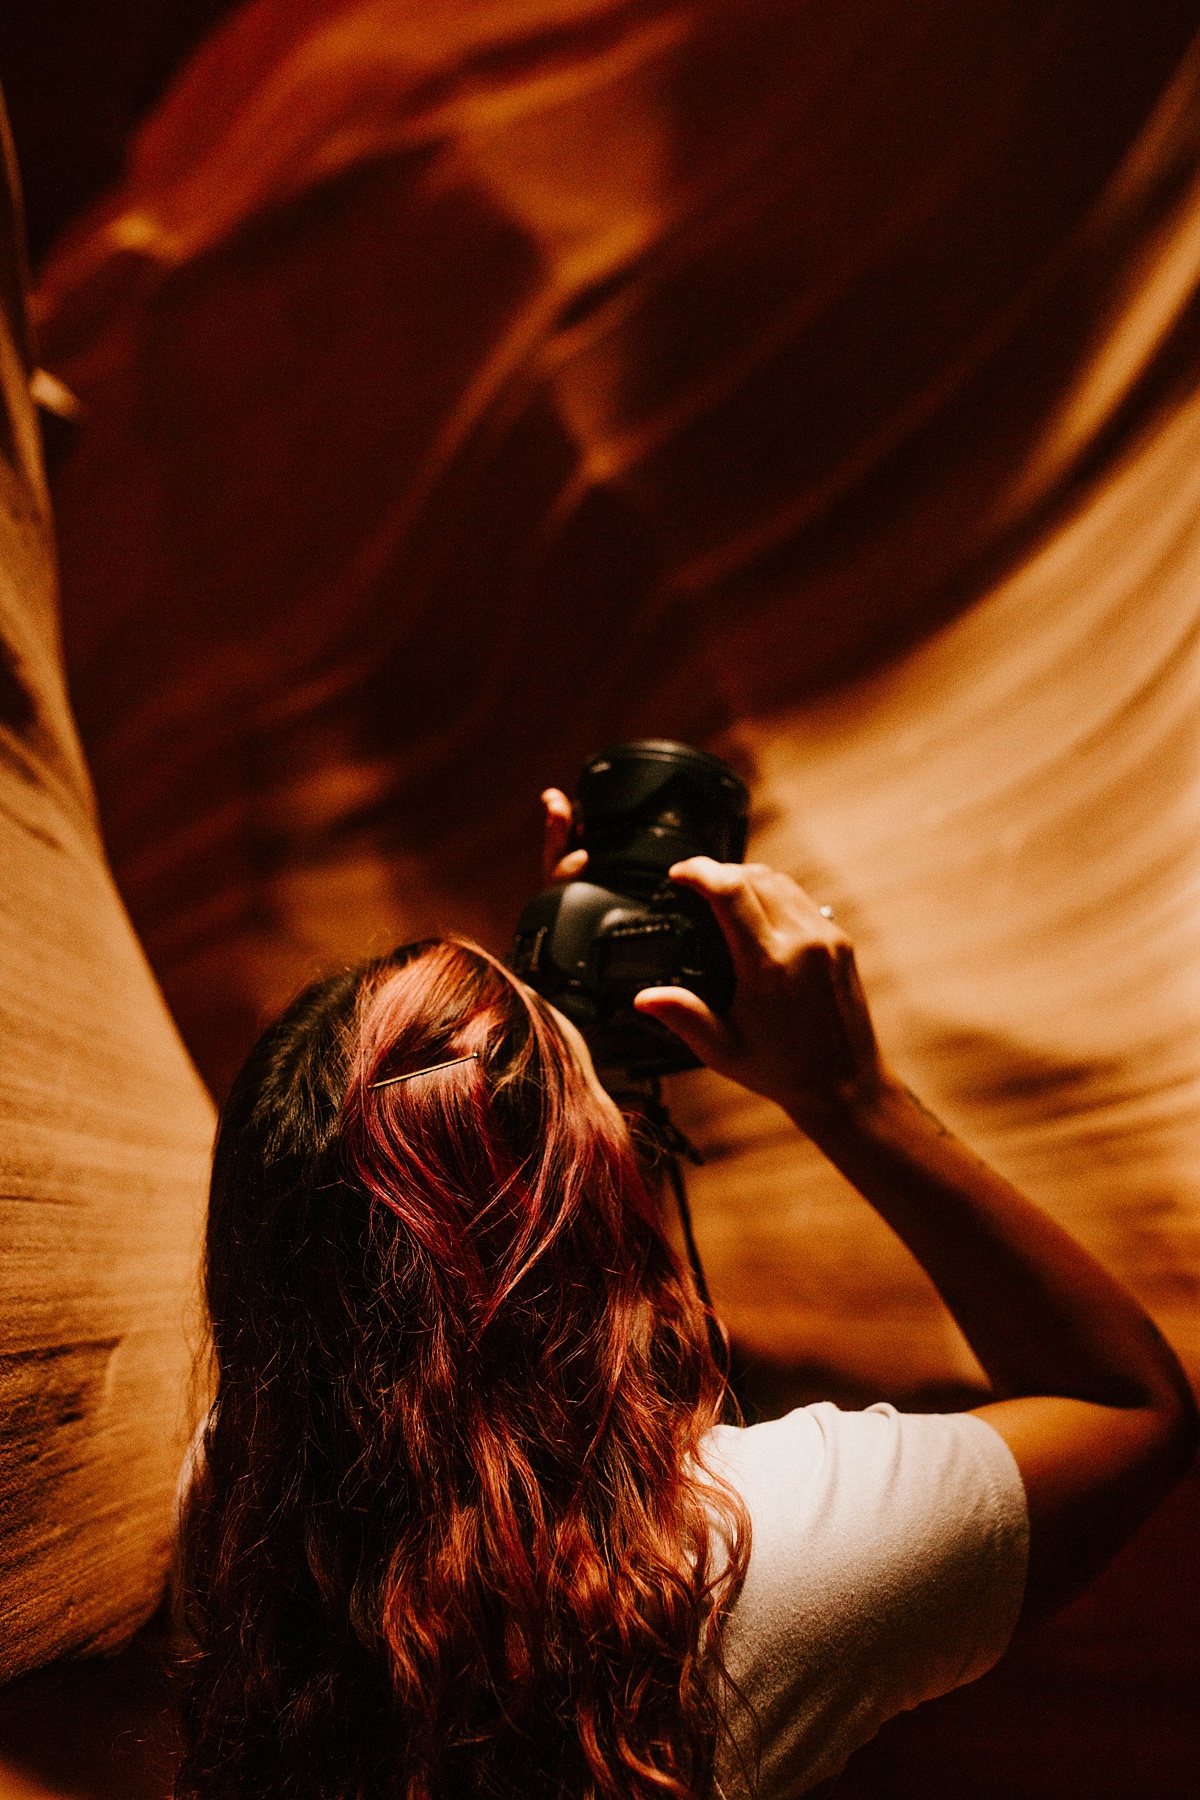
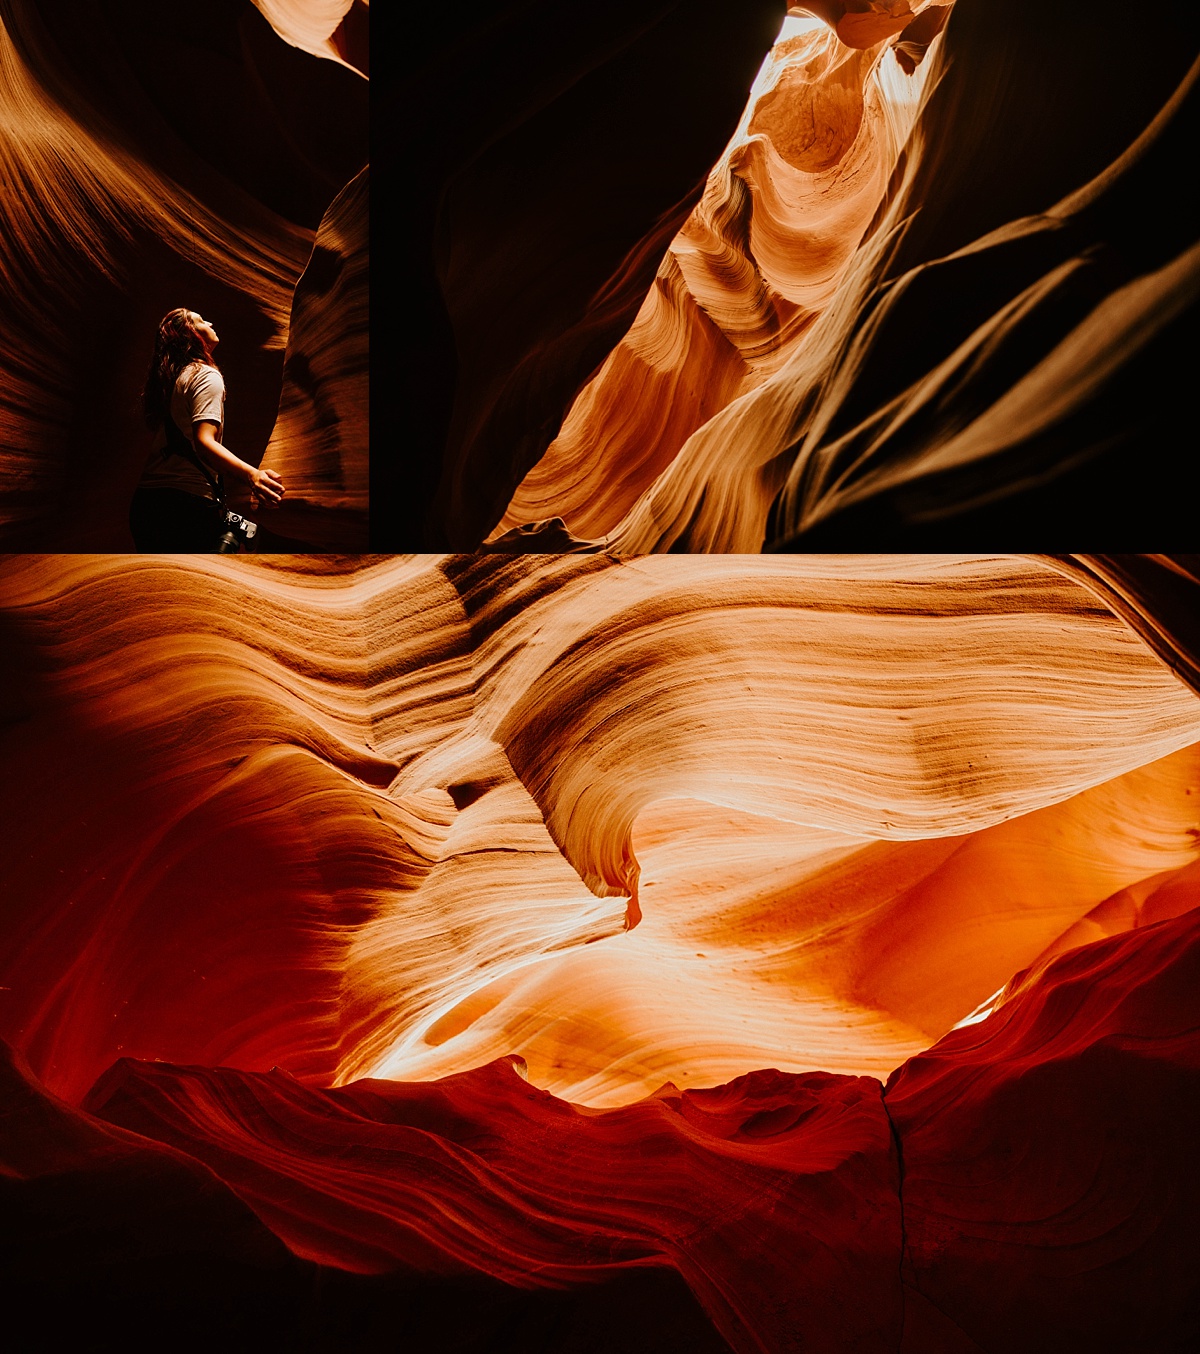
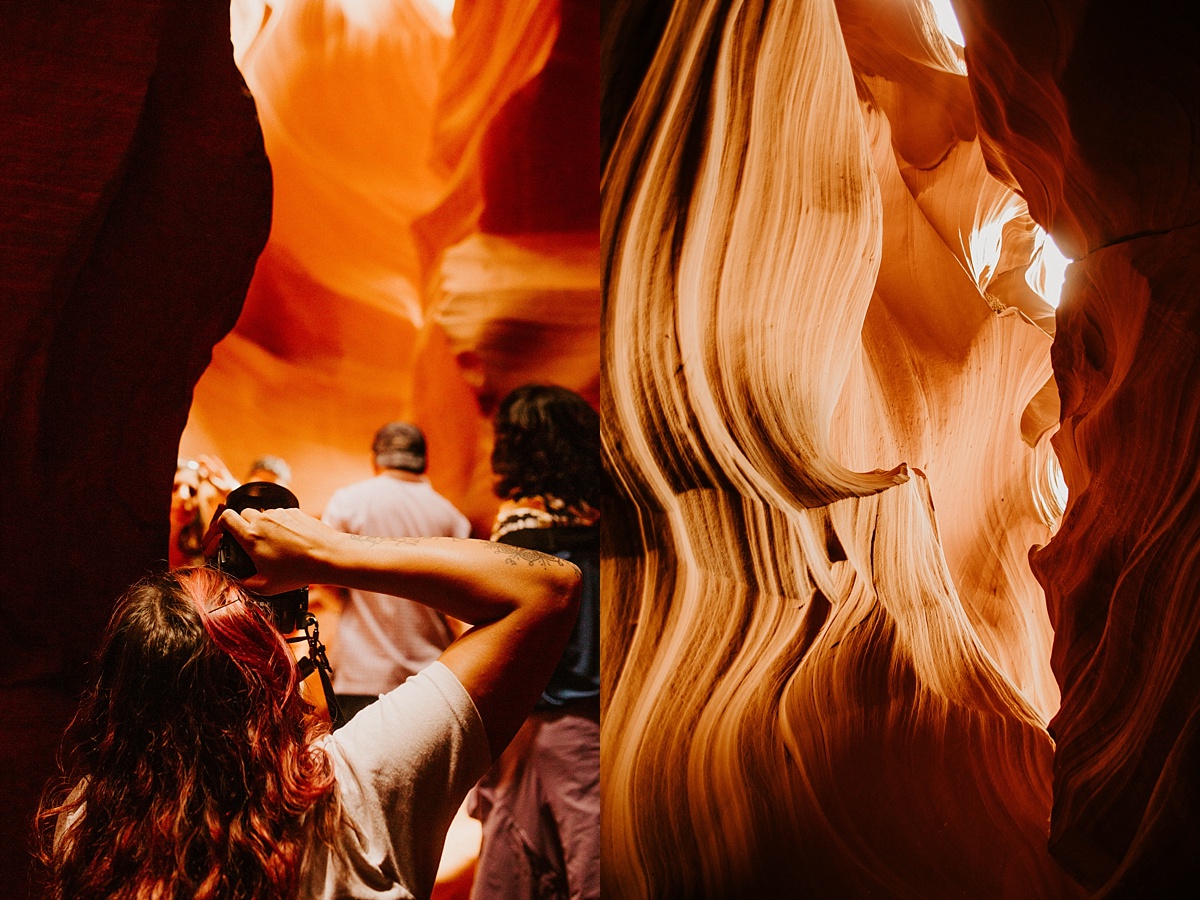
We met up at our tour’s office to load up in their safari-like trucks to be driven out to the canyon – it was a 10min drive from their location to the start of Upper Antelope Canyon. There were several other tours that were at the canyon with us, but our guides spaced us out enough to allow ample time in the canyon without being crowded. We were in the canyon for about an hour – you walk the canyon very slowly, taking images along the way as the tour guide points out the best spots. Once we got to the end of the canyon, we turned around and walked back through. They only allow you to take pictures on the way IN not on the way out, so make sure you get all the pictures you want as you walk through it the first time.
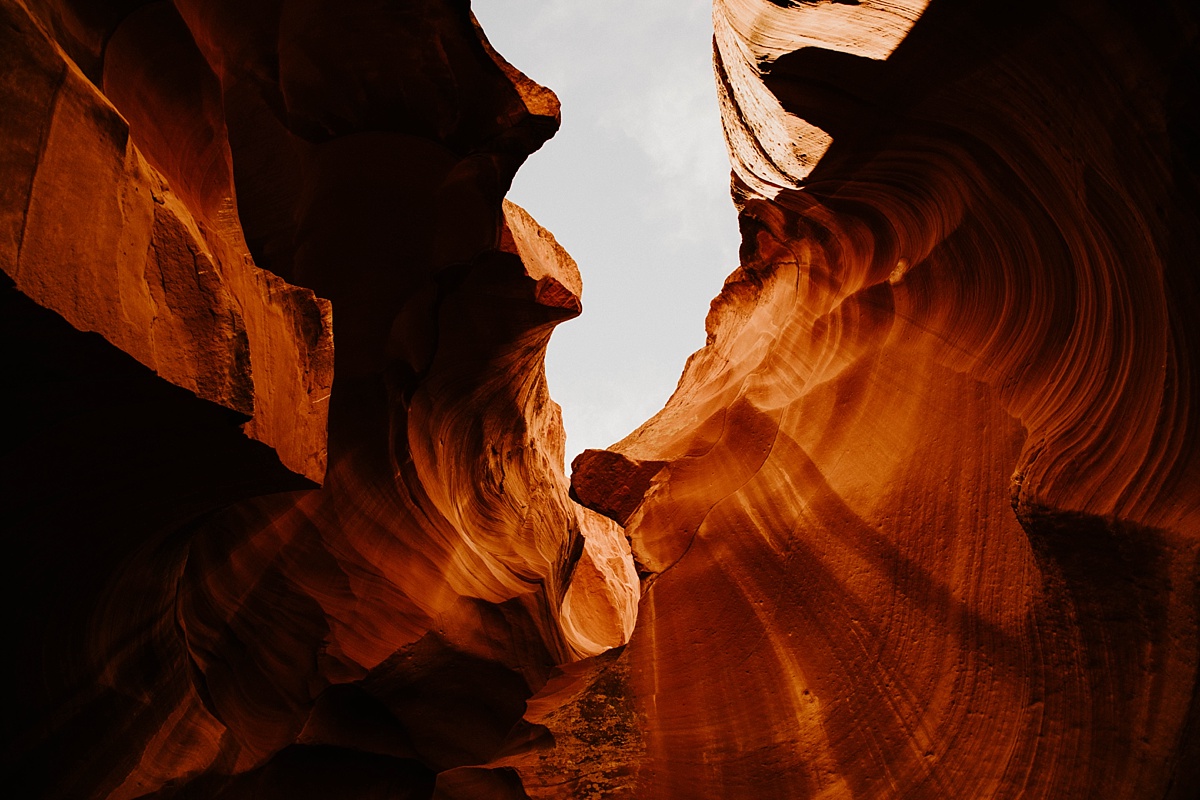
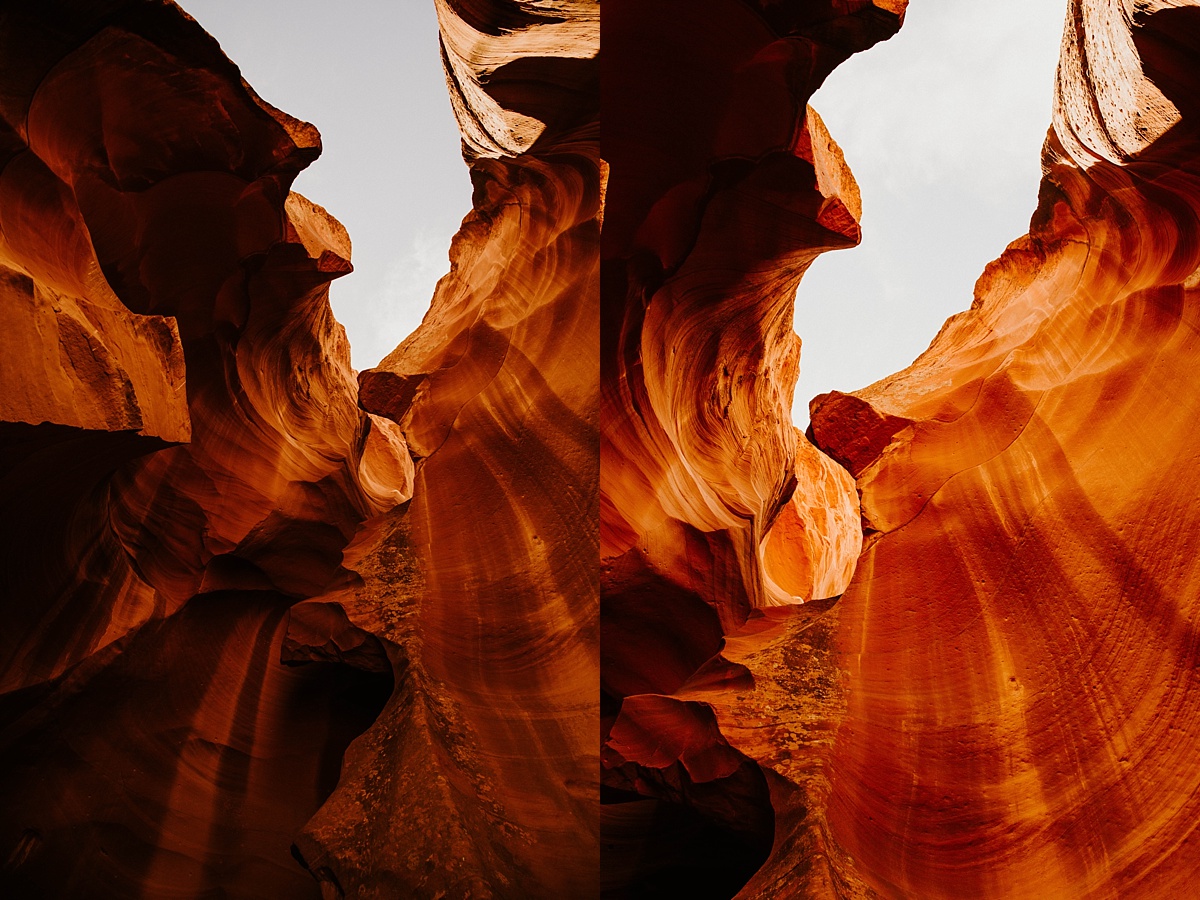
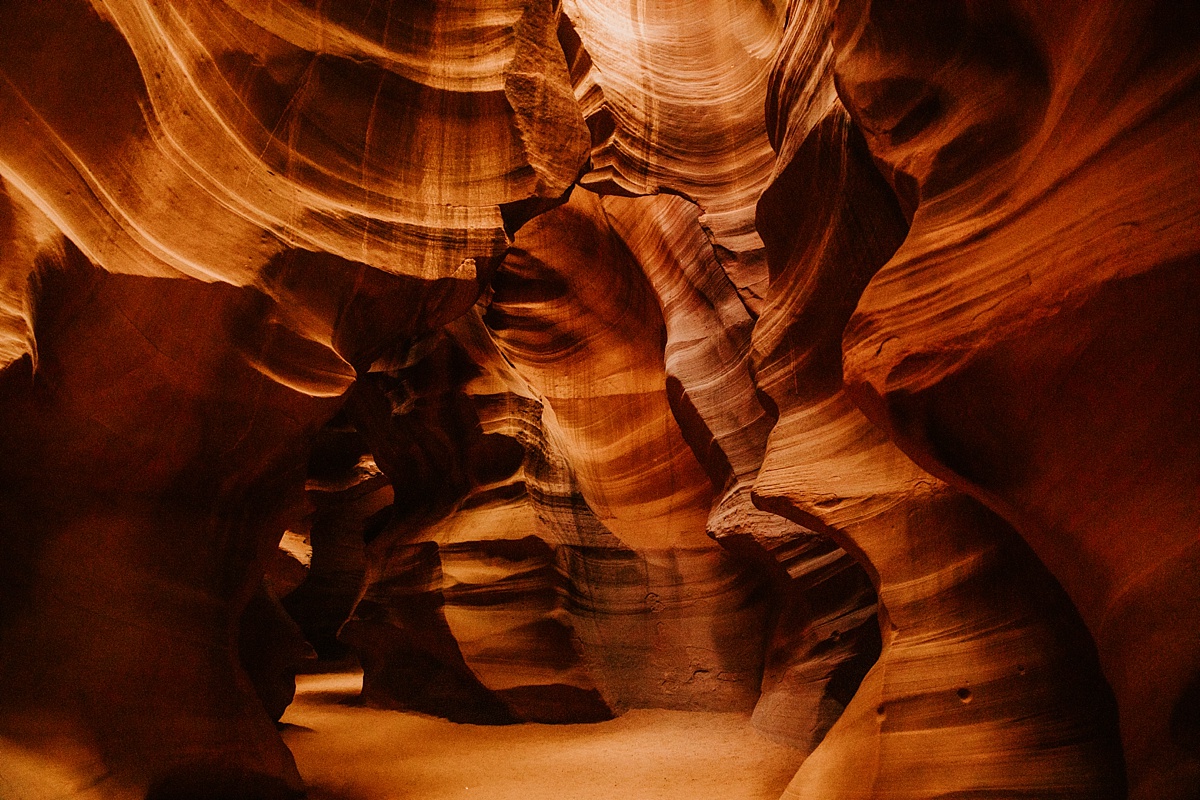
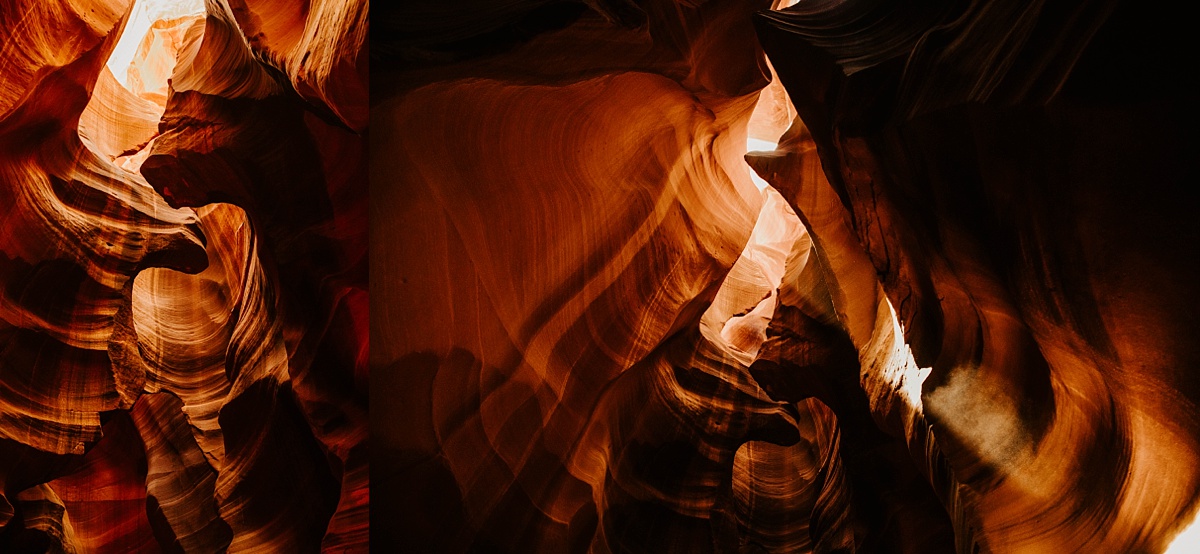
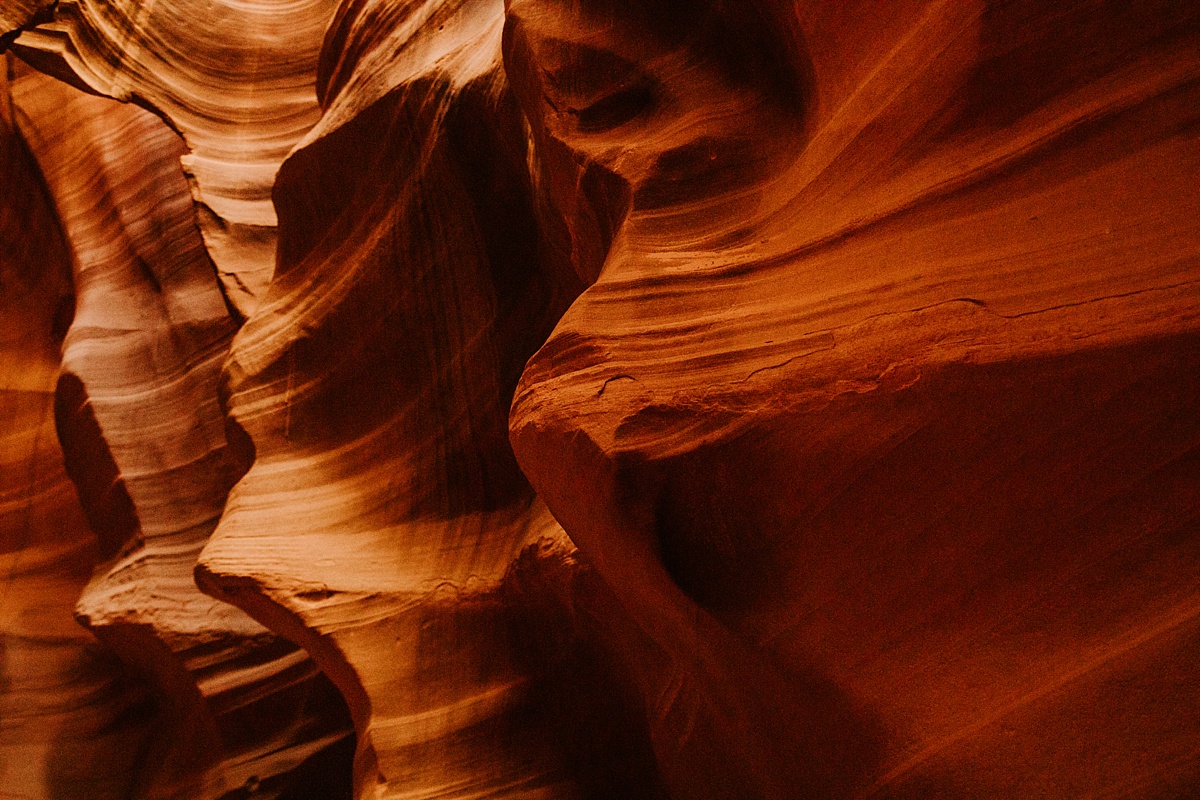
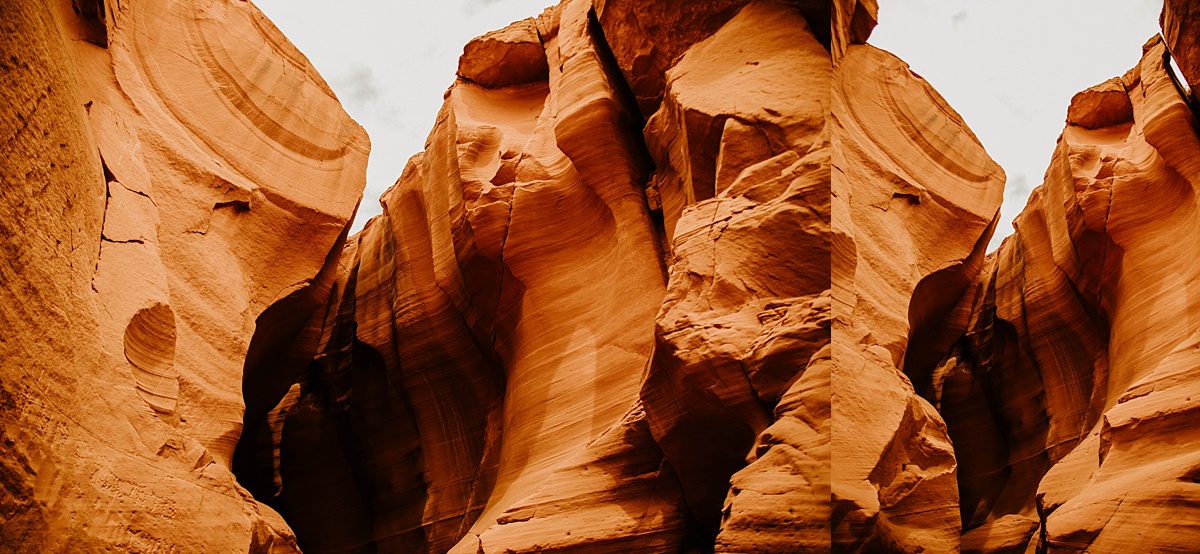
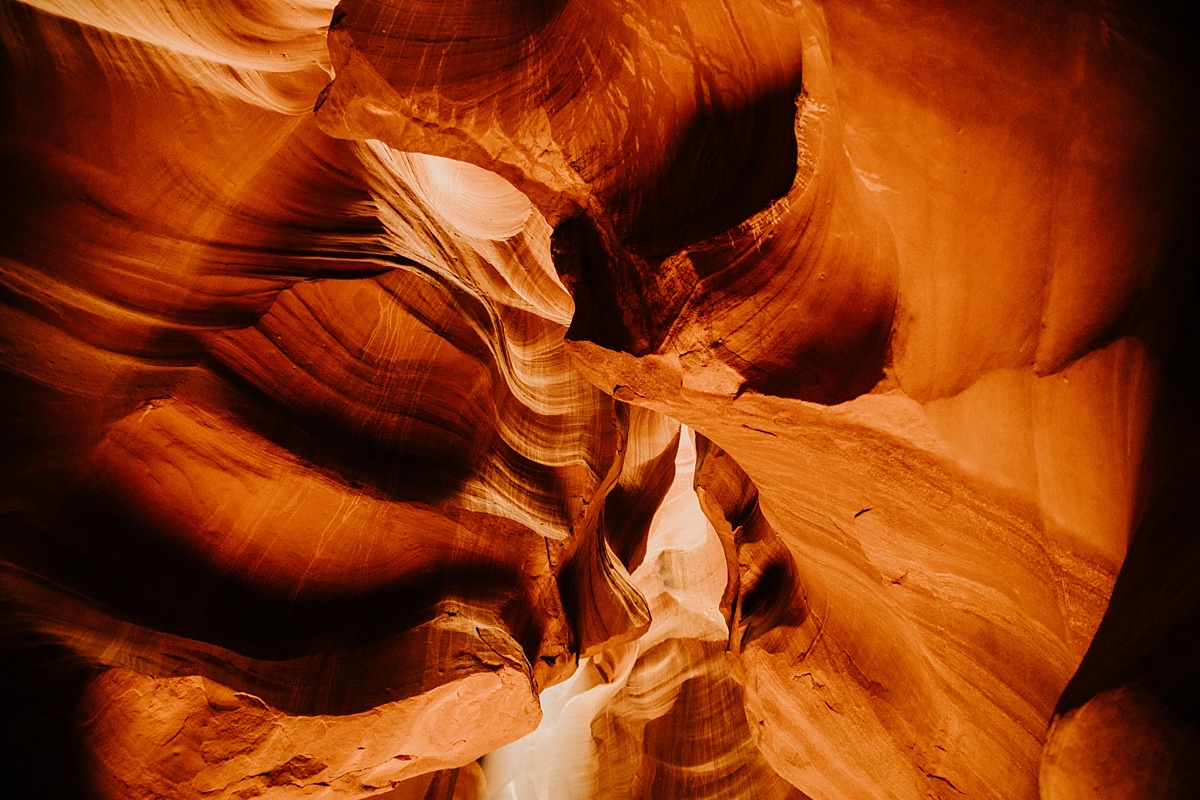
The canyon itself was absolutely breathtaking and hands-down the BEST place I have ever been. Check out the images below (and stick around for Horseshoe Bend afterward!)
Final Stop: Horseshoe Bend
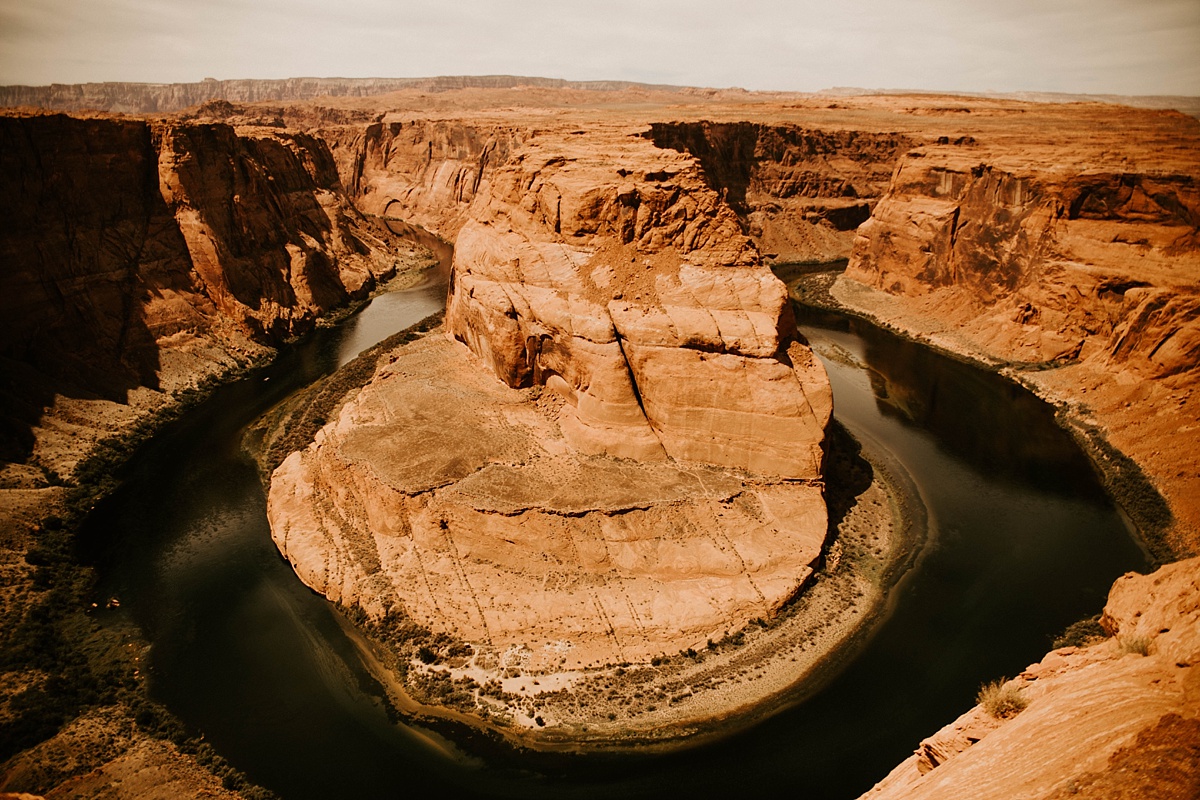
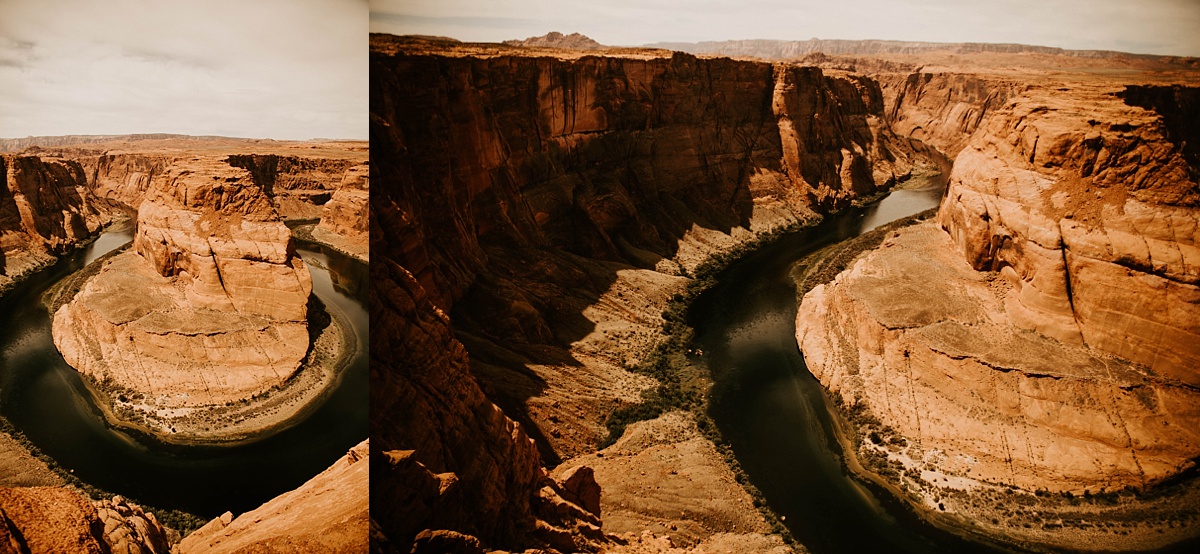
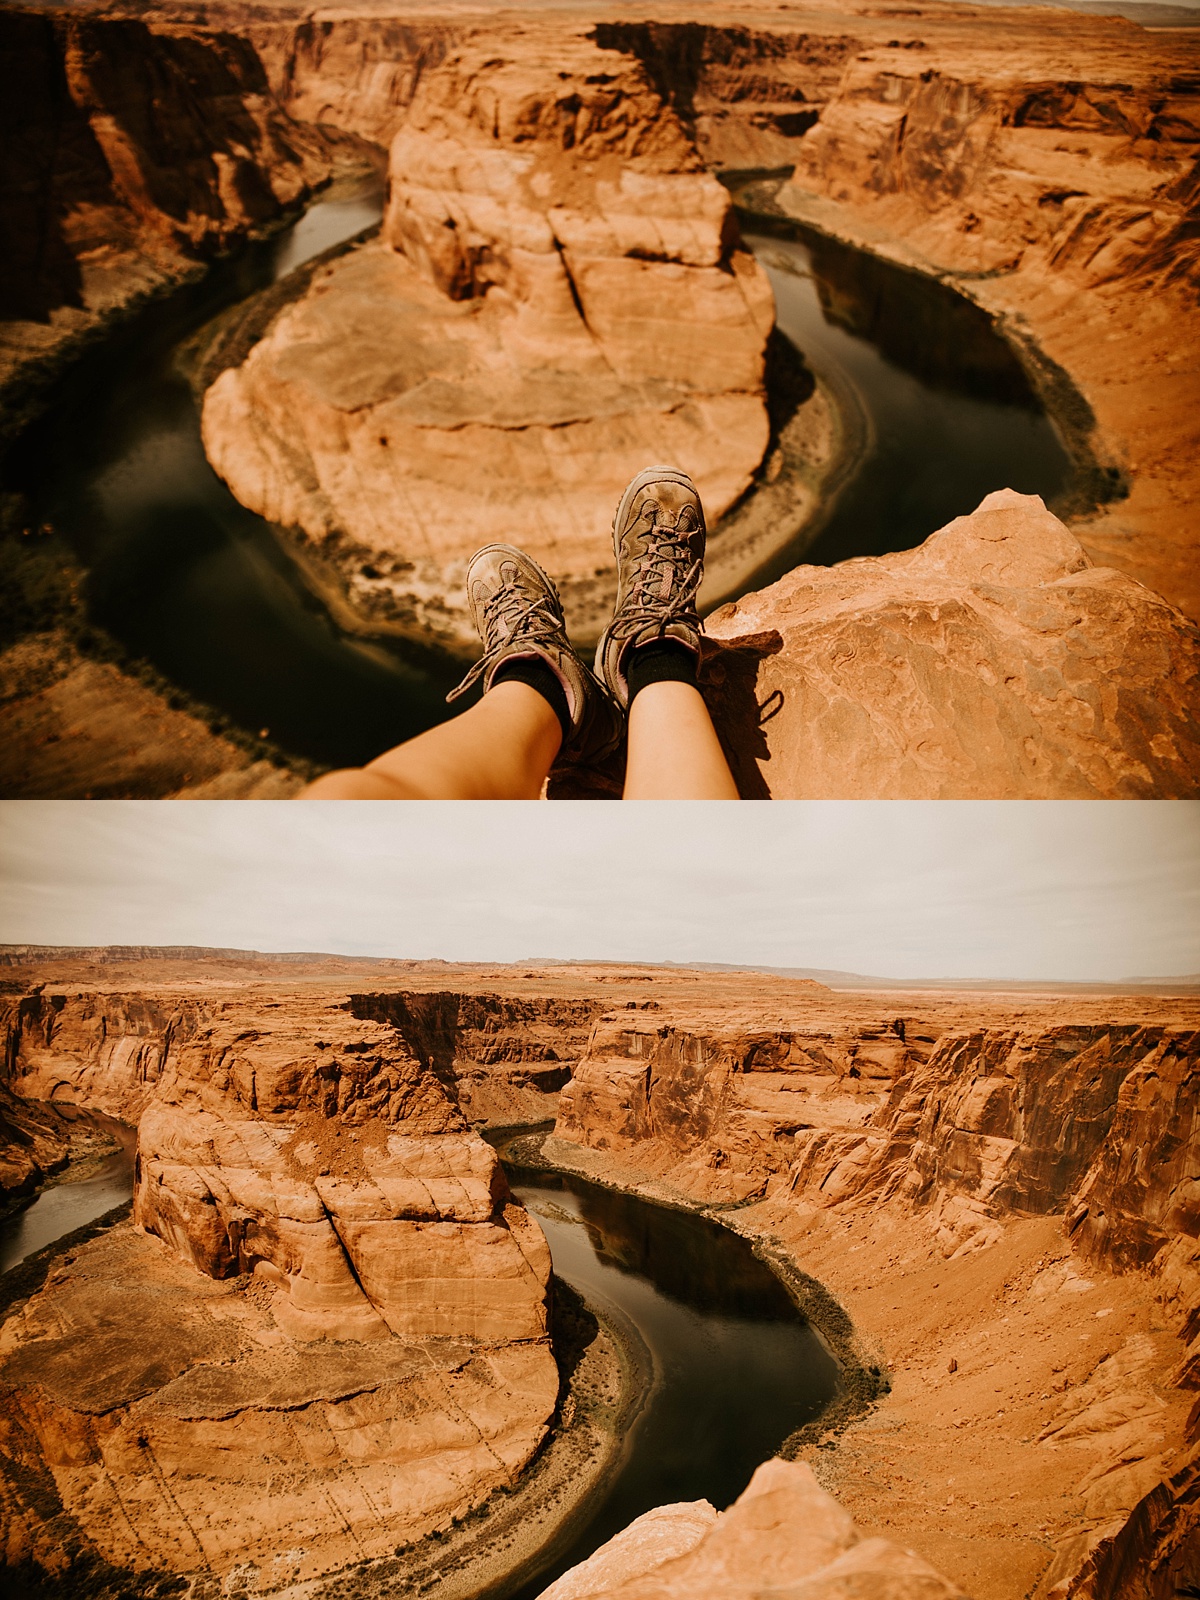
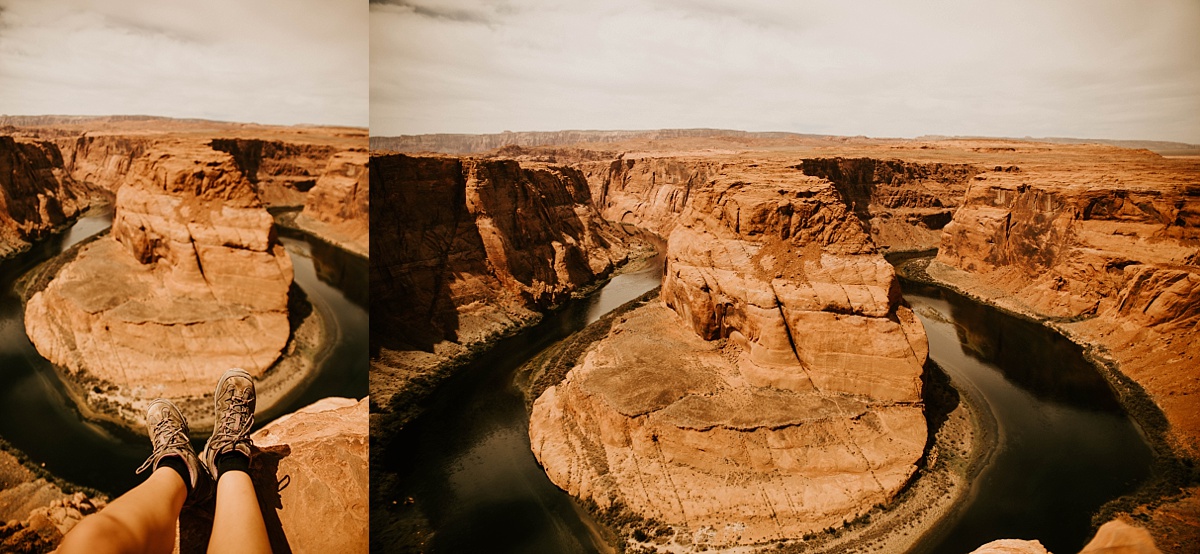
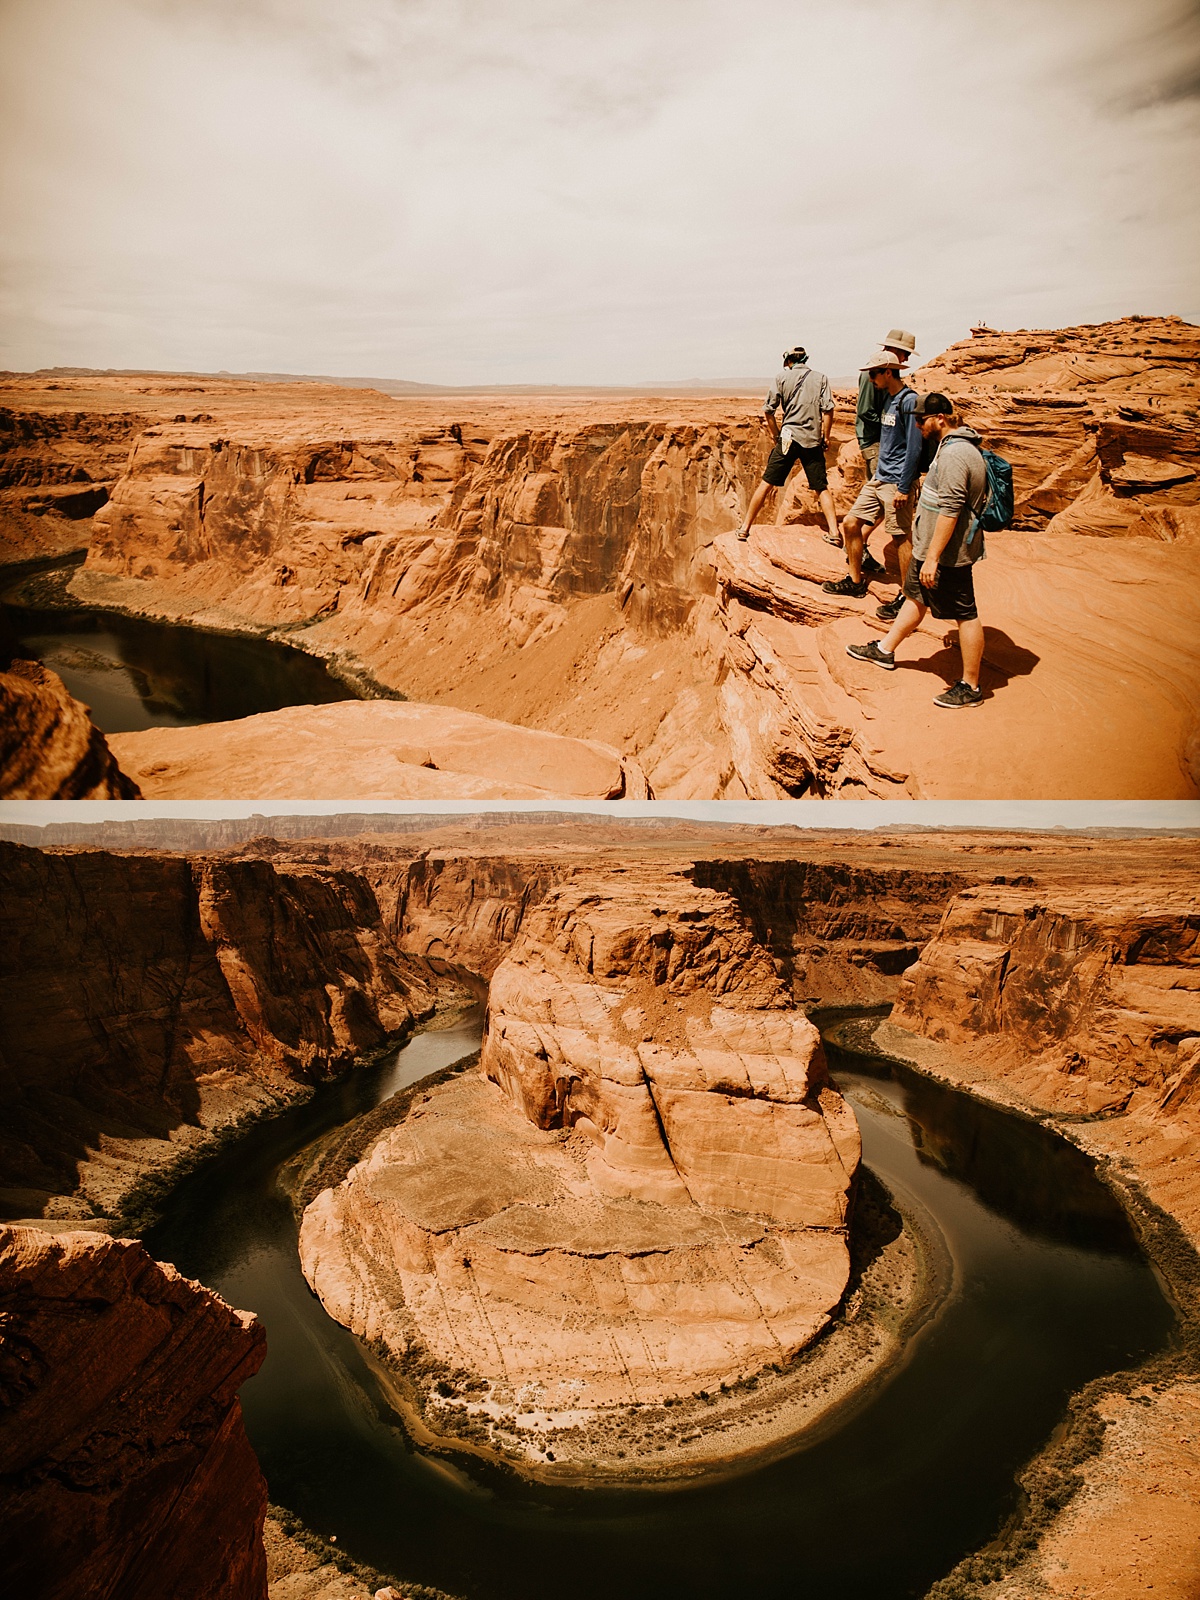
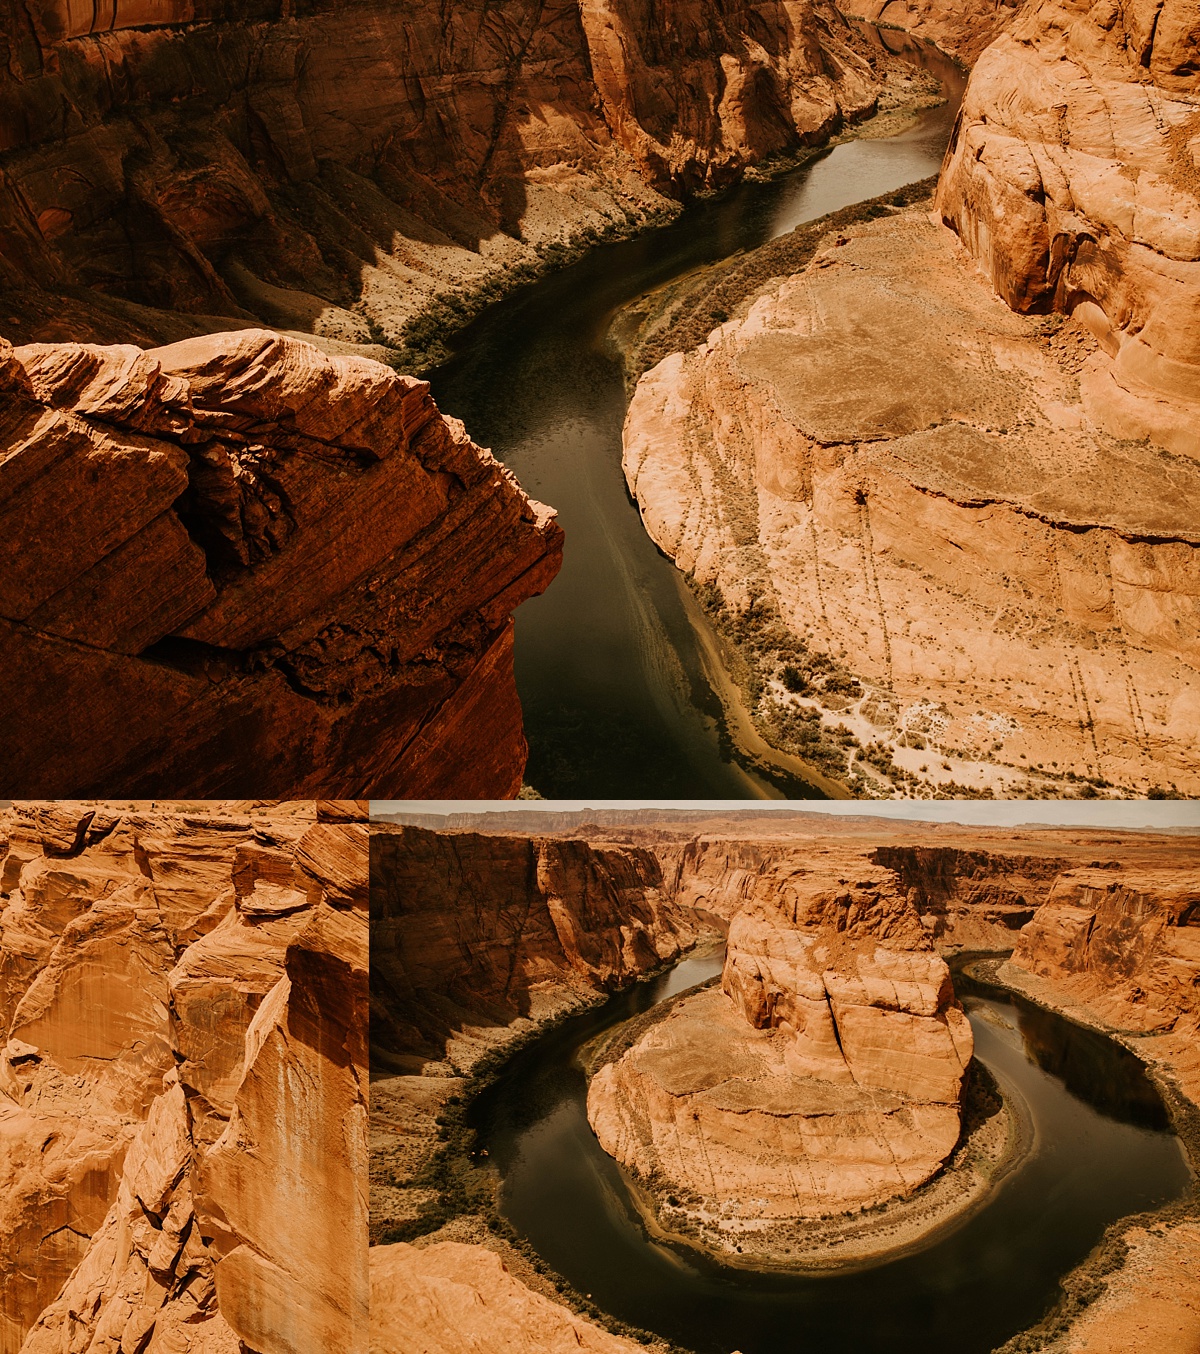
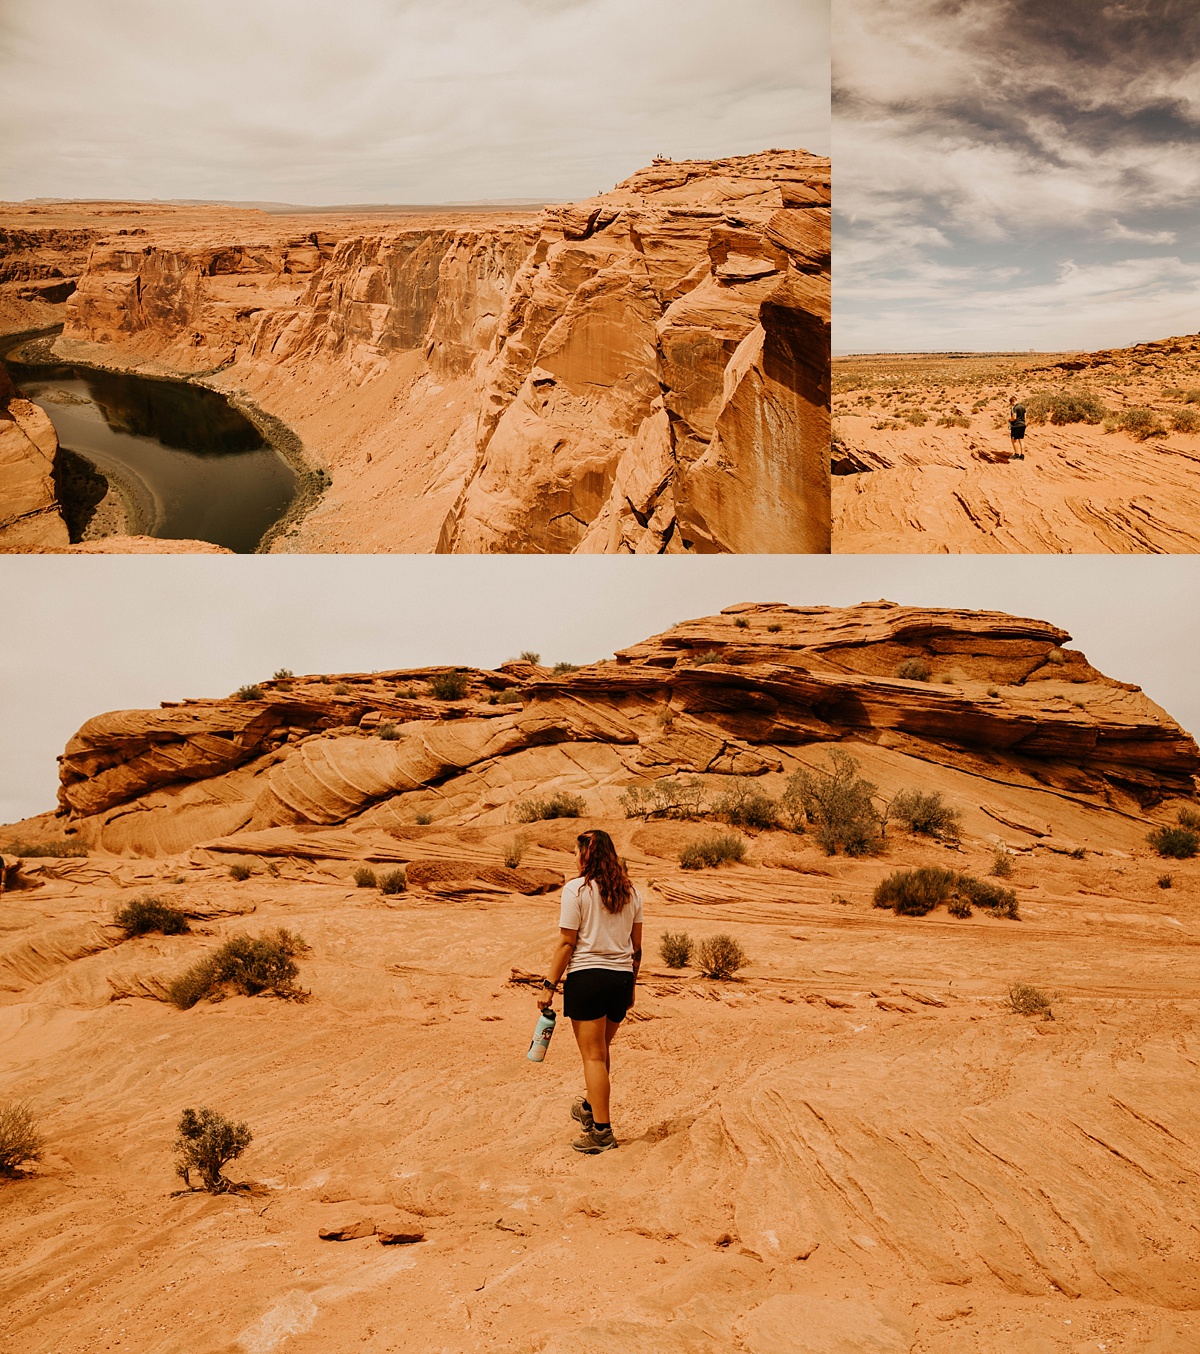
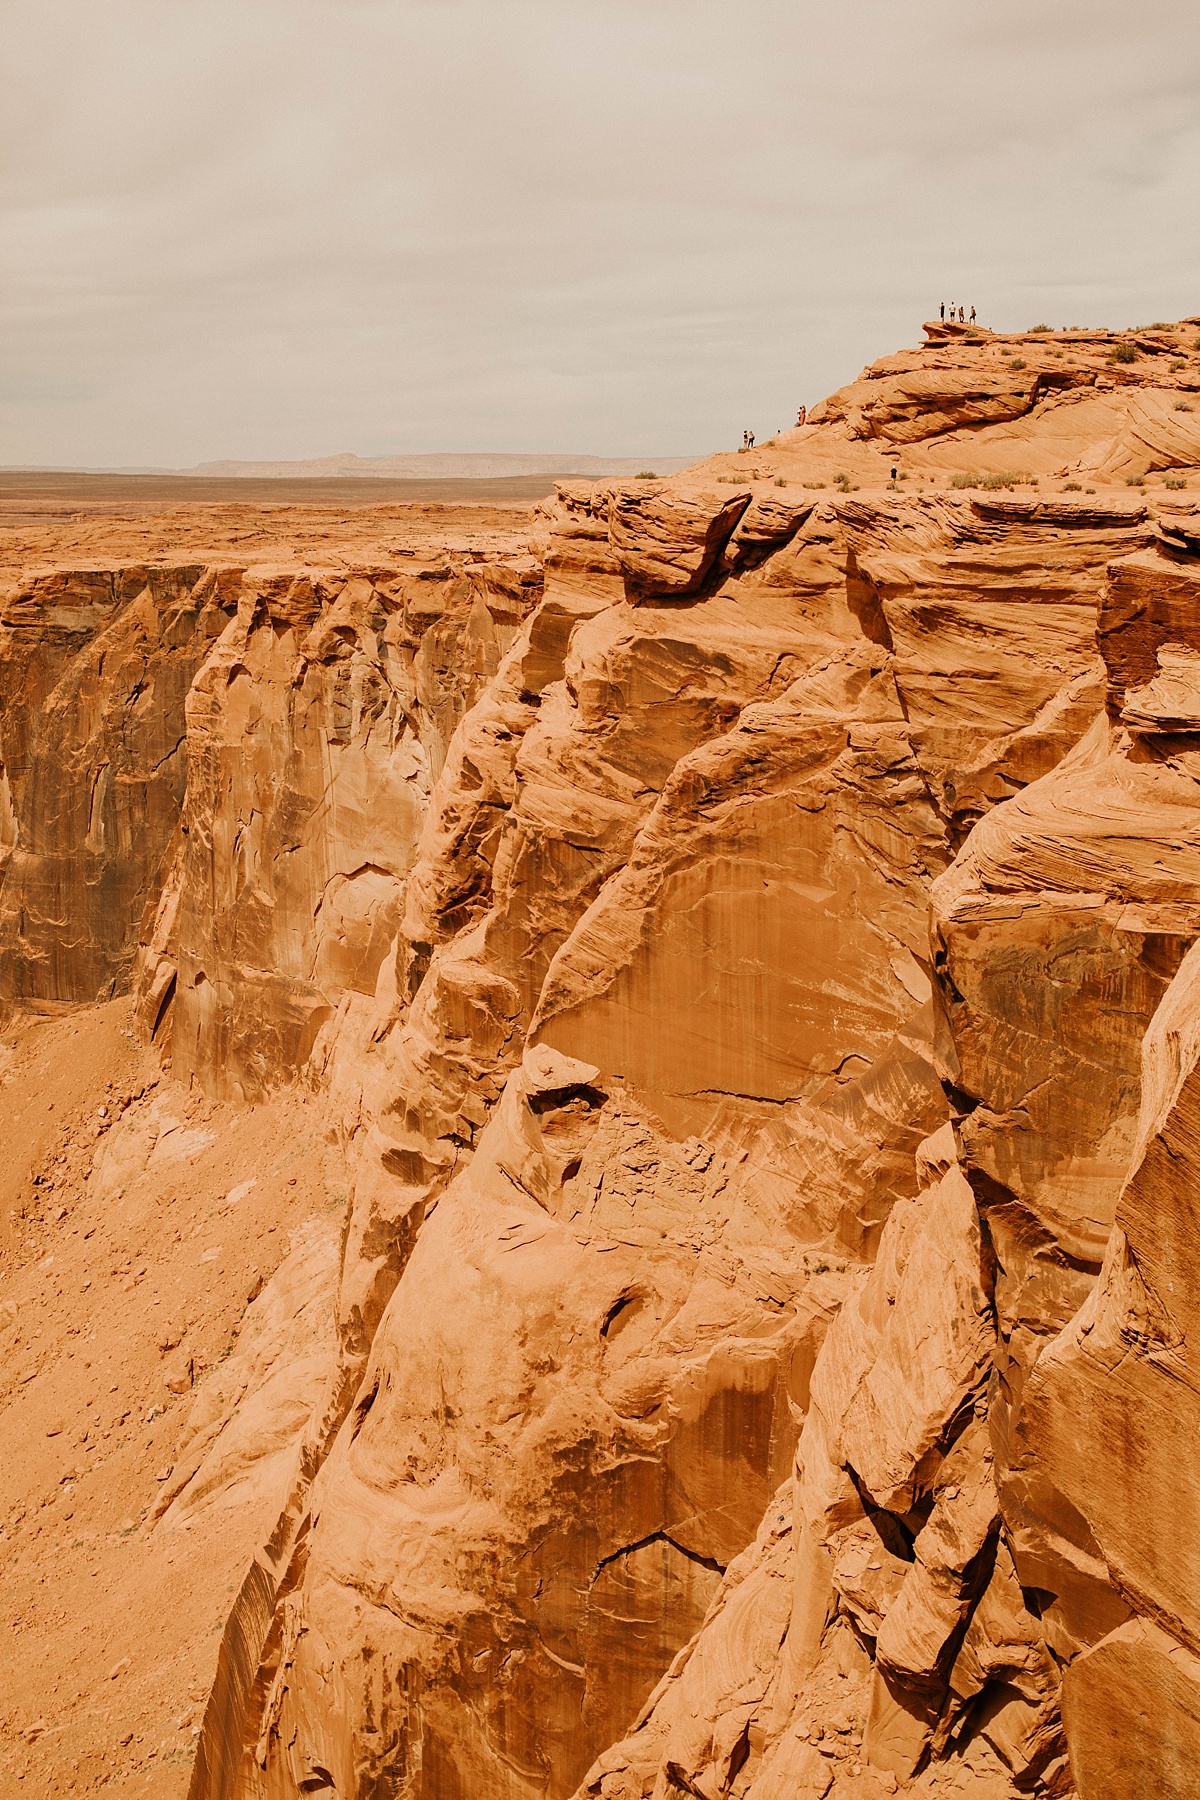
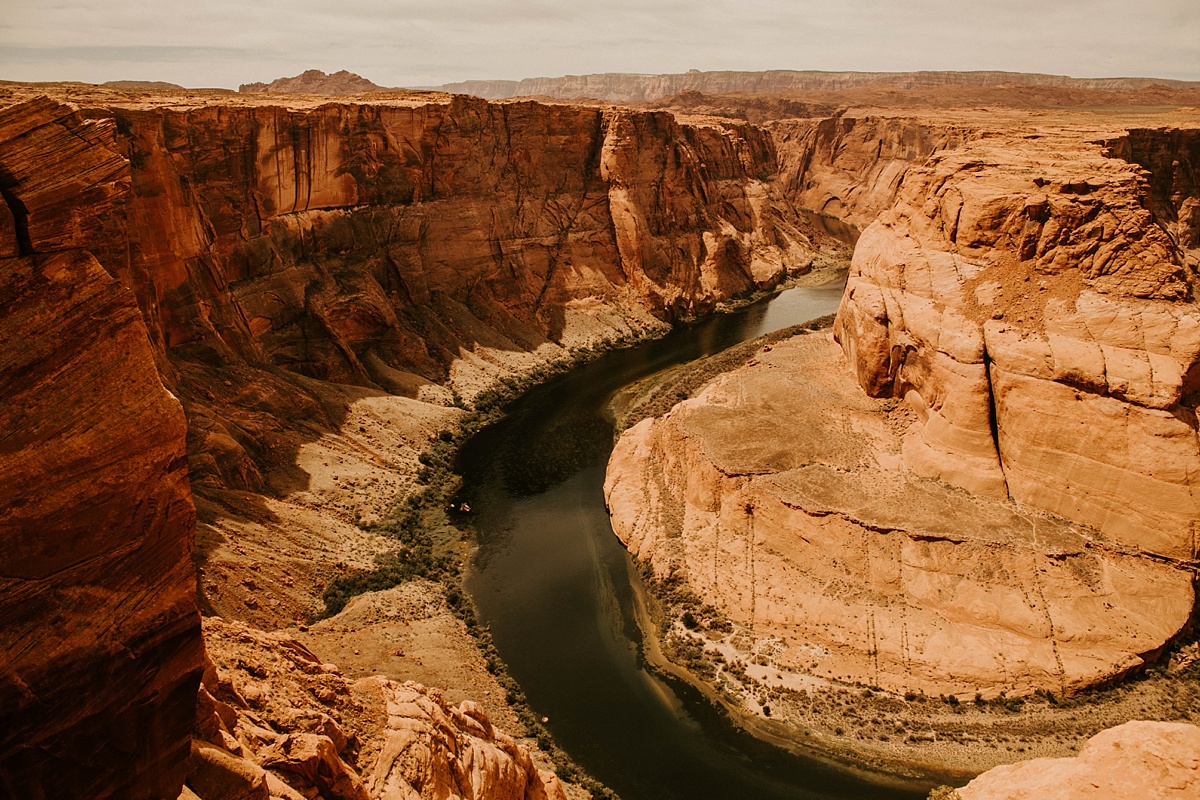
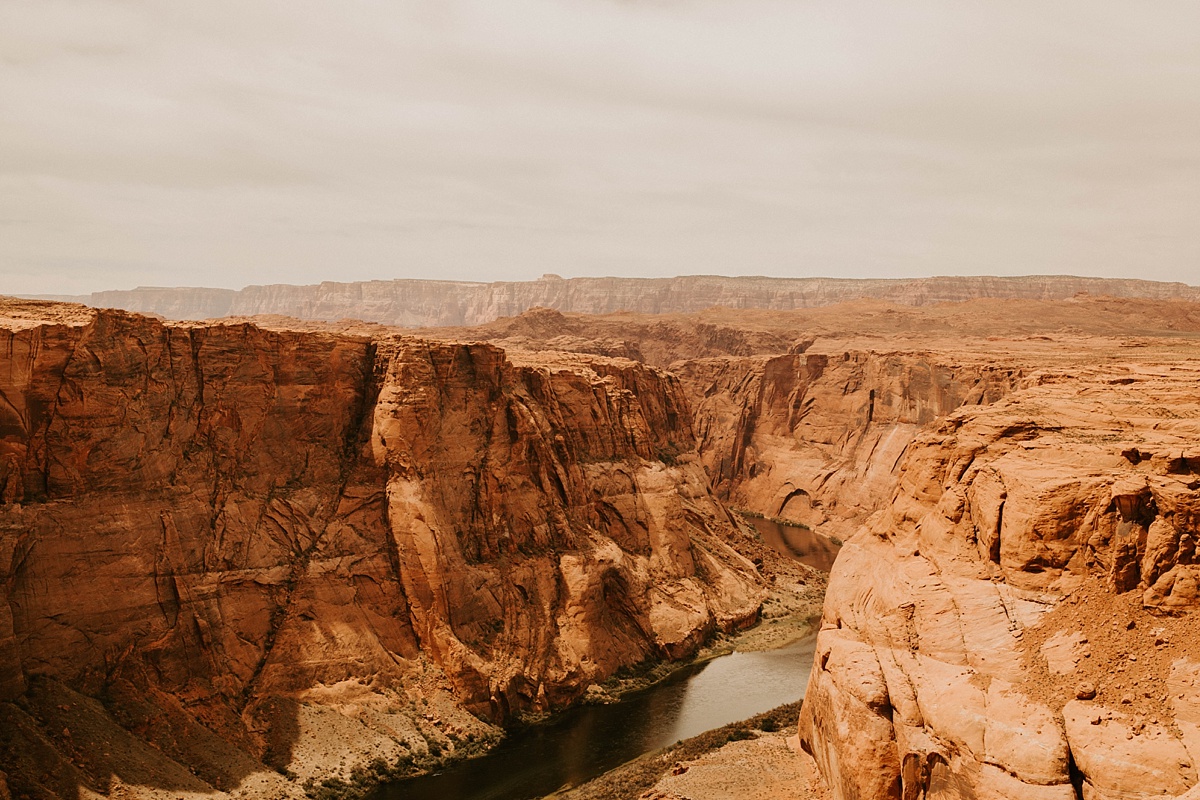
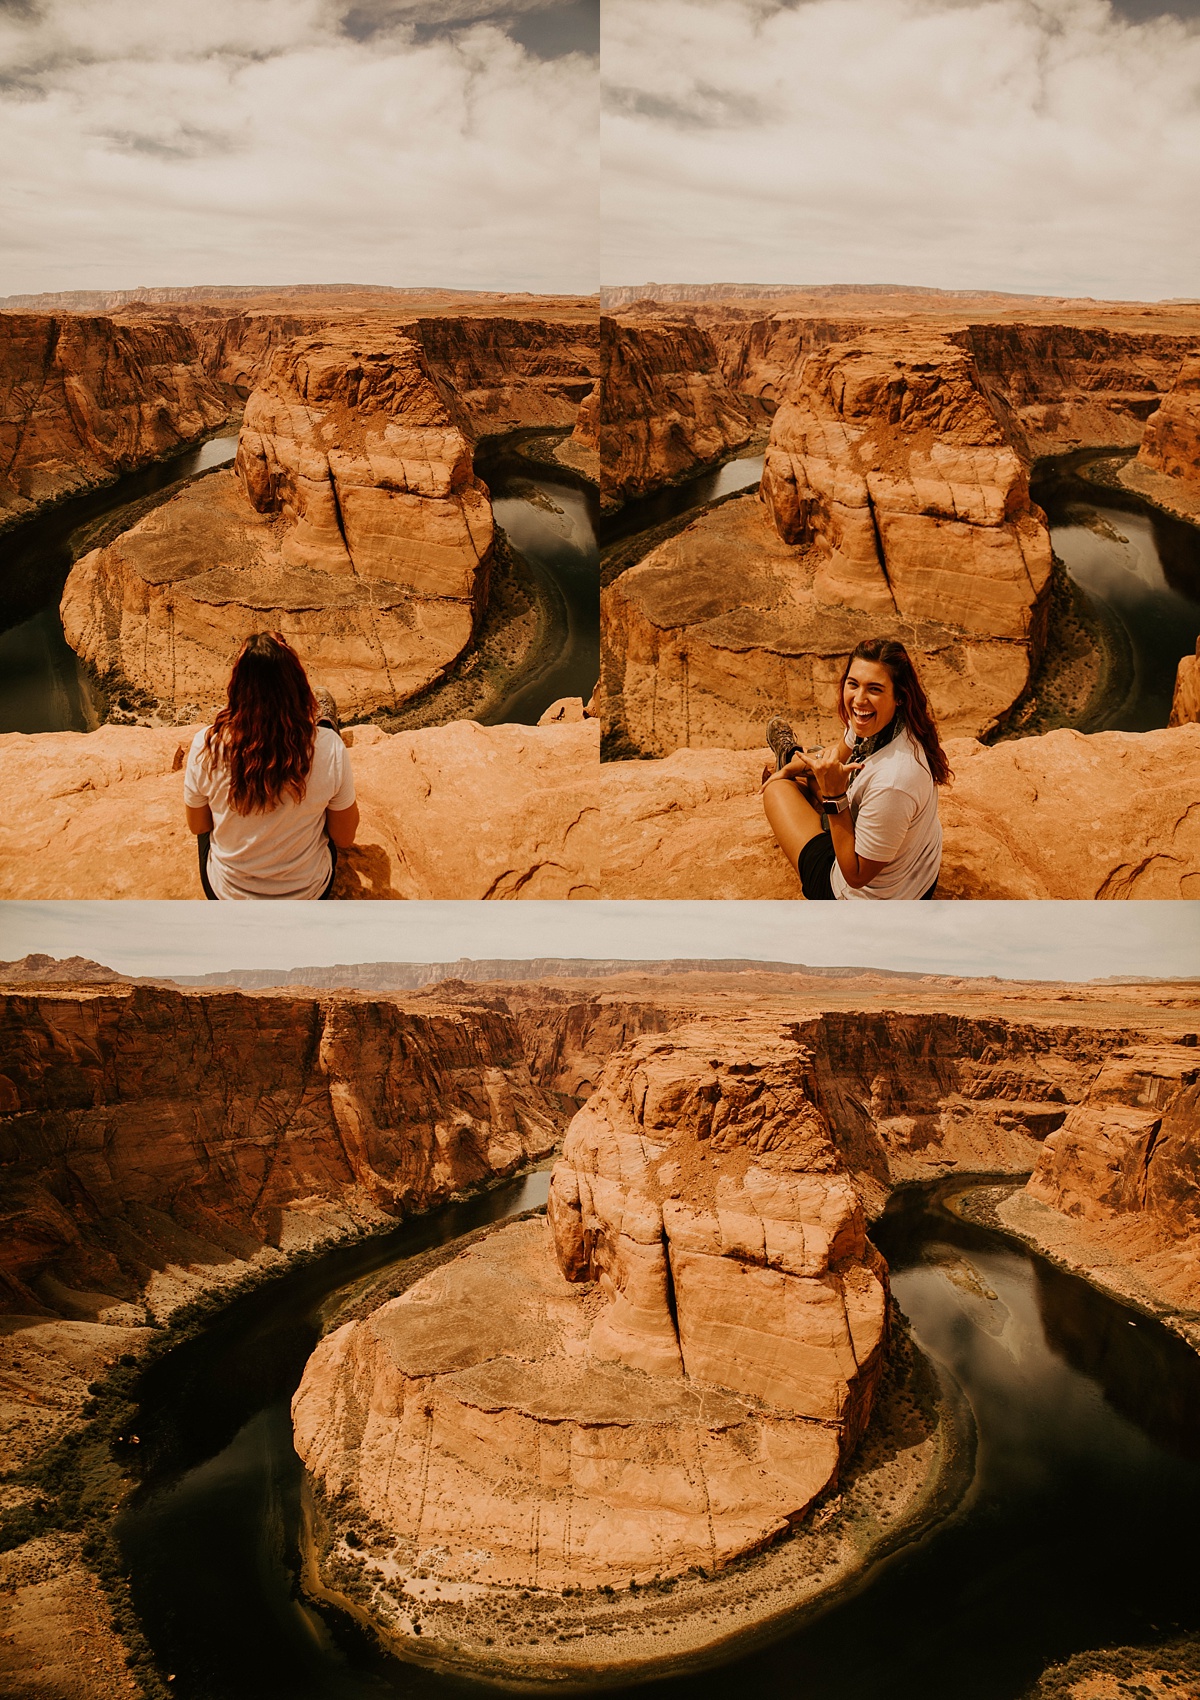
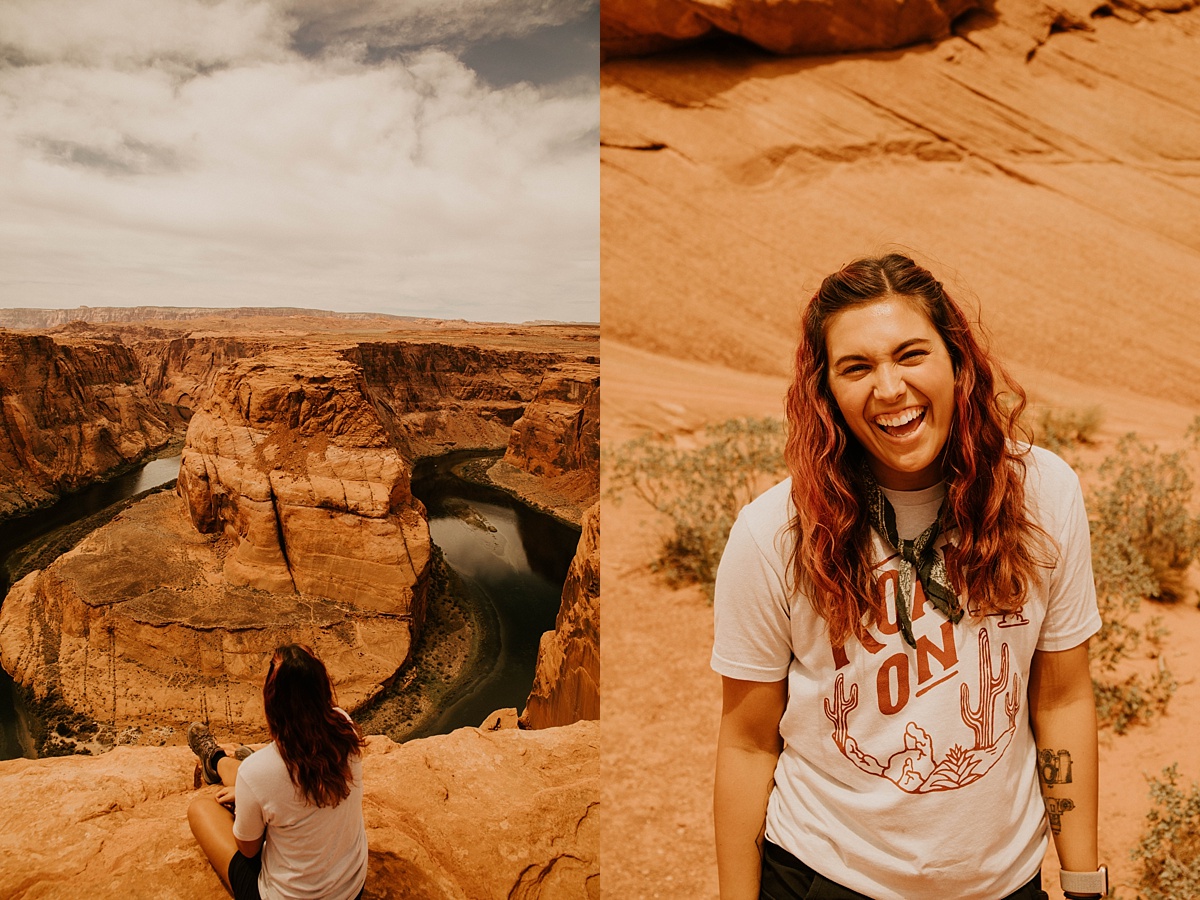
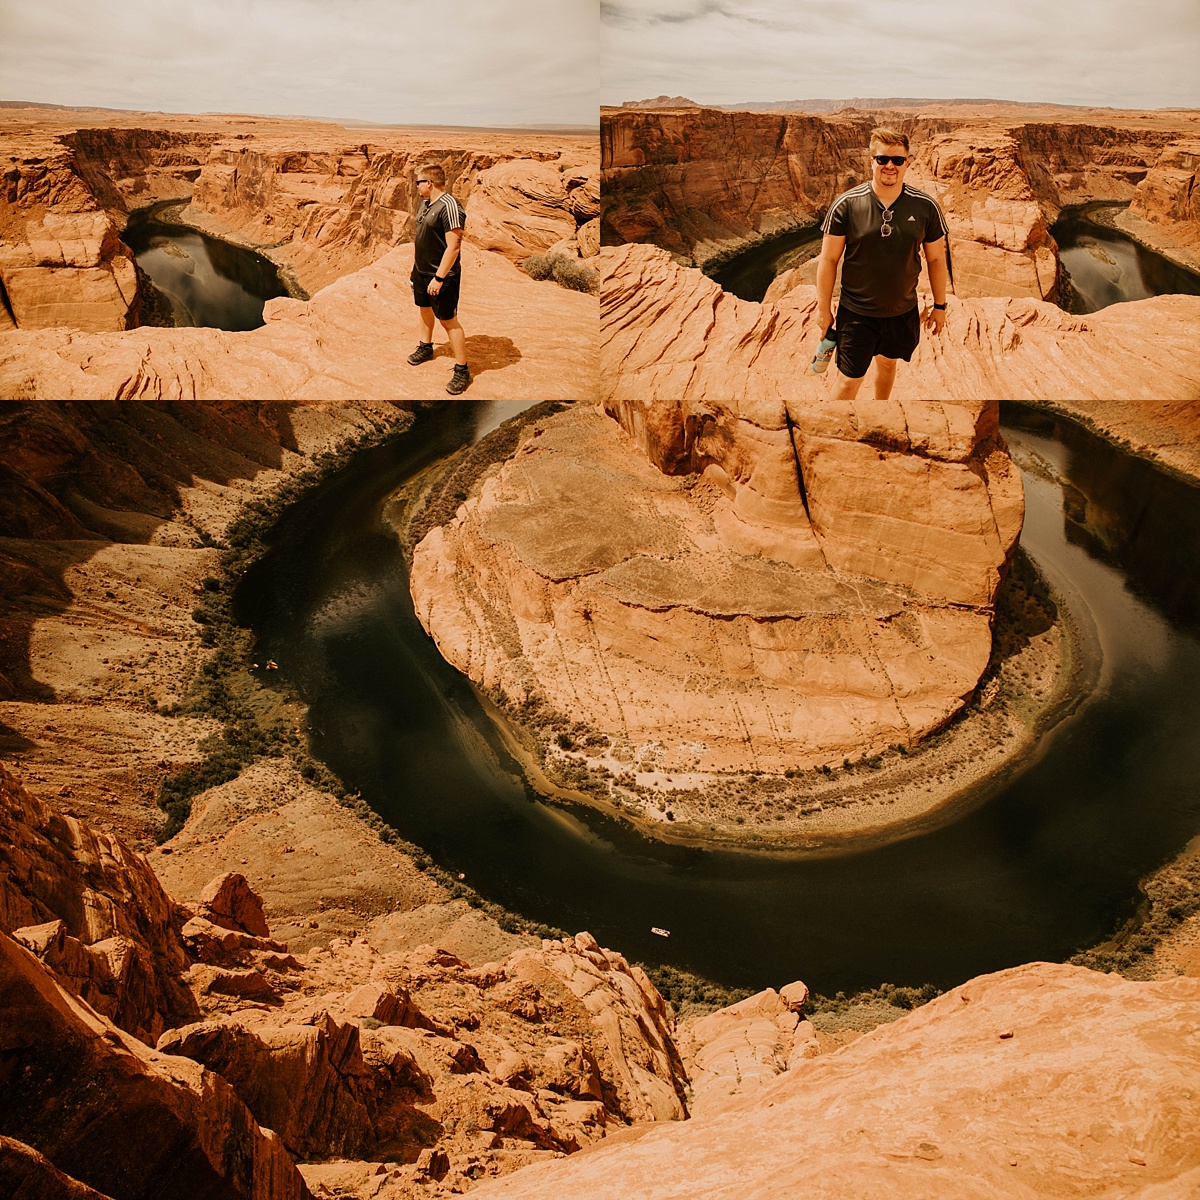
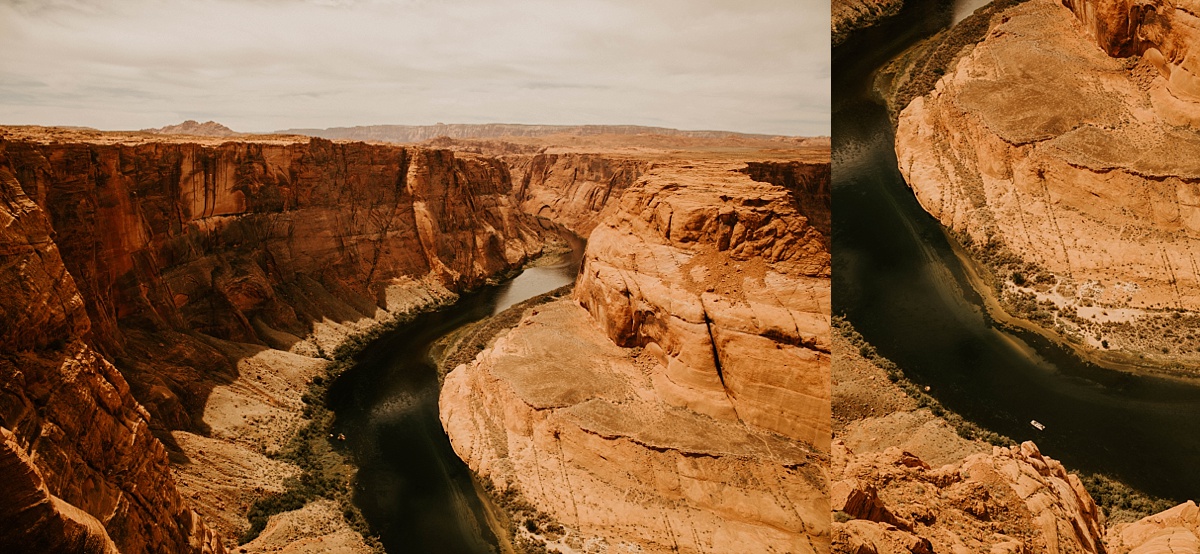
After touring Upper Antelope Canyon, we drove 10 minutes to the Horseshoe Bend free parking lot. Once we parked, we followed the 3/4 mile dirt path that led us to the rim of Horseshoe Bend. The had a small area that was paved with a railing, but most of it was unpaved, rocky terrain without a railing (SO fun for me but a bit nerve-wracking for my scared-of-heights hubby). I loved being able to hike around a bit and sit on the edge. It really is the PERFECT spot for an elopement so…if you want to elope at Horseshoe Bend…give me a call ;).
There wasn’t a whole lot to do at this location, but we enjoyed marveling at the sight for a bit and taking pictures before walking back to our car! (it was HOT and super dusty that day, so make sure you wear sunscreen and take some water with you on the trail!)
Check out the sights below!
On our way 4.5 hour drive back to Phoenix, we made a pitstop in Flagstaff to grab some dinner. We ate at Criolla Latin Kitchen in the historical, downtown part of the town. It was a bit pricey, but my sangria and tacos were well worth it!
Needless to say, Matt and I had an incredible 24ish hour trip to the Grand Canyon, Antelope Canyon and Horseshoe Bend. My adventurous and creative heart was SO happy – I 100% recommend taking the time and money to see these three amazing wonders.

Share:
be the first to comment